
From Irons to Optics: A Guide to Secure Red Dot Mounting
From Irons to Optics: A Guide to Secure Red Dot Mounting
When I first began my career in law enforcement, I could count the number of handguns I’d seen with a mounted optic on one hand—with fingers left over.
Most of those were hunting handguns sporting magnified scopes, or the occasional 1911 competition gun with a large, red-dot tube optic mounted over the slide via a frame-mounted bracket. Back then, optics on duty guns might as well have been science fiction.
Fast forward far too many years, and I found myself in my early 50s, struggling to focus on my front sight. By this time, duty-rated pistol optics had become prolific, reliable, and battle-tested. I decided it was time to enter the 21st century, and I’ve been a convert to pistol-mounted optics (PMOs) ever since.
A discussion of every optic and mounting system currently available could easily fill an entire publication. Instead of doing a deep dive on the gear, I want to share the exact technical process I use to securely mount optics to my pistols.
Choosing Your Platform: Plates vs. Direct Milling
First, a bit of advice for those choosing their first optic-ready pistol. Many handguns use modular adapter plates, like the Glock MOS (Modular Optic System). These systems have the advantage of versatility, allowing a single slide to adapt to a wide variety of footprint standards (such as the Trijicon RMR, Leupold DeltaPoint Pro, or Aimpoint Acro). If the adapter plate is of high quality and properly torqued, it can be extremely robust. If you want to tinker and test different optics, this is a great route. However, plates introduce a secondary layer of hardware, meaning extra mounting screws that can act as potential points of failure.
The most rugged setup is choosing your preferred optic footprint first, and then pairing it with a slide specifically engineered for that exact system. This can be achieved by purchasing a dedicated factory slide or by sending a standard slide to a professional machinist for custom direct-milling.
Fortunately, an increasing number of manufacturers are shipping guns from the factory with slides milled to accommodate multiple footprints without requiring separate adapter plates. Innovations like the Shadow Systems multi-footprint system and the Springfield Armory Echelon’s VIS (Variable Interface System) are excellent examples of this evolution.
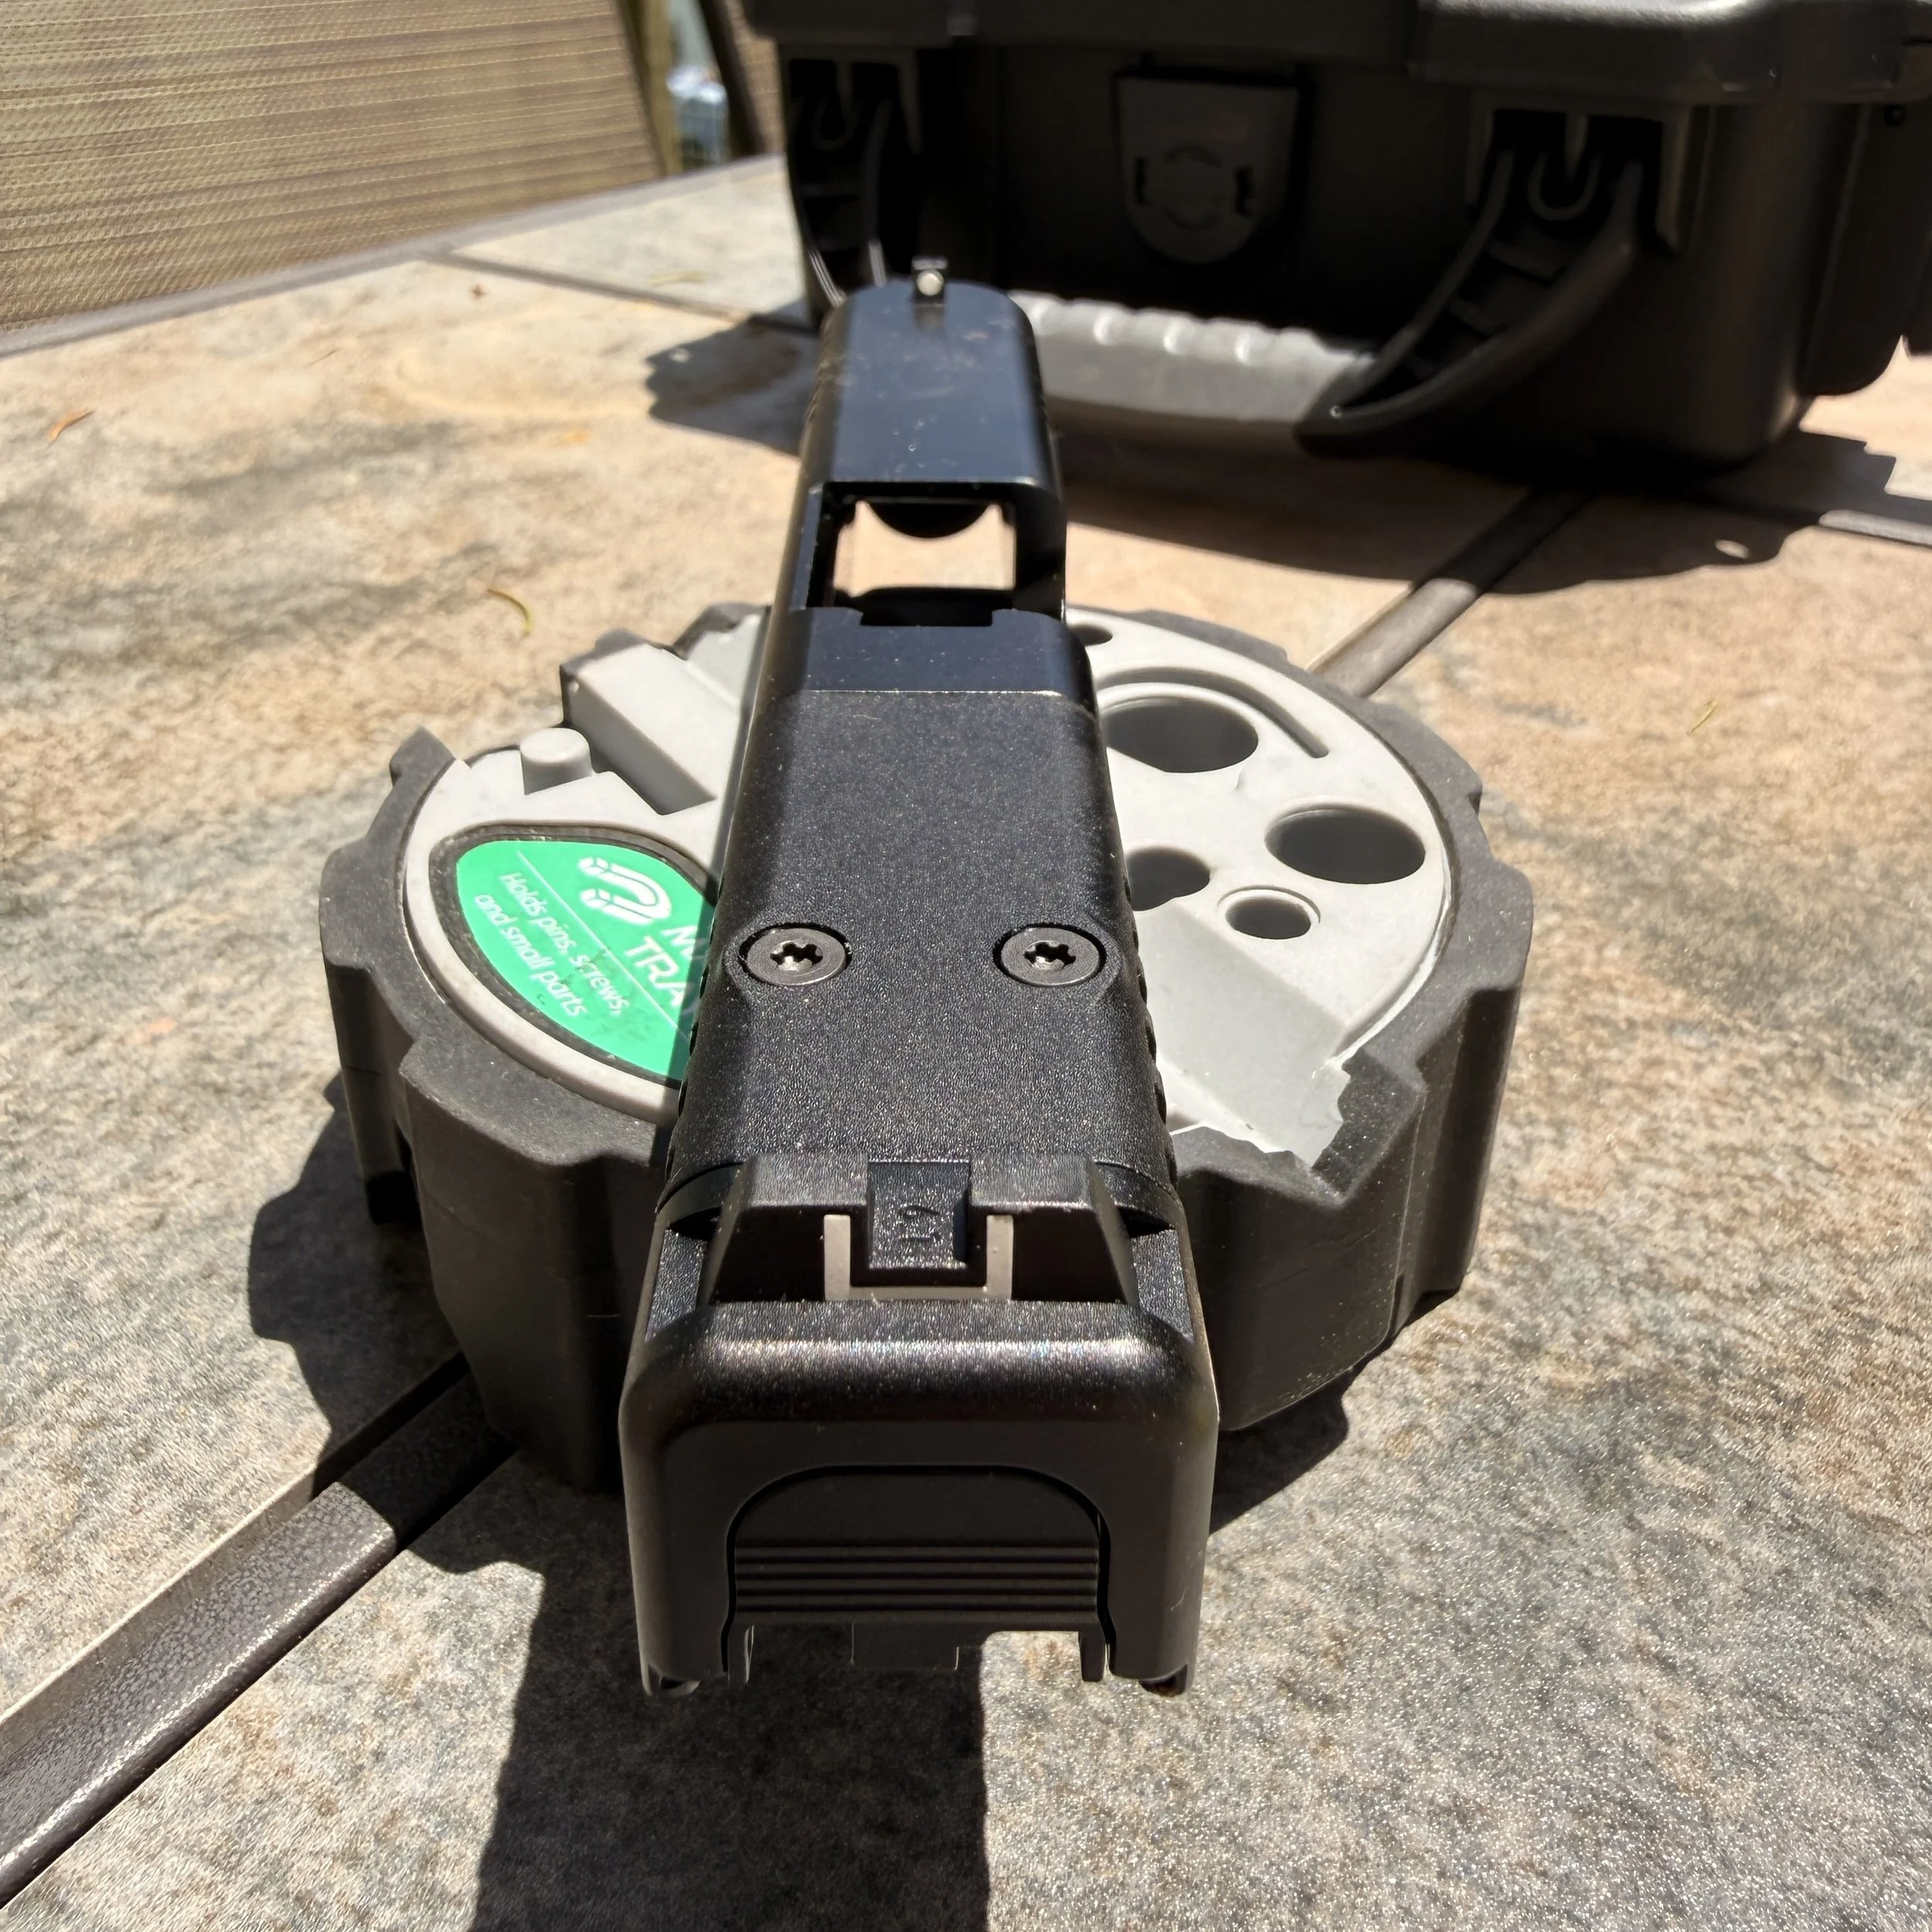
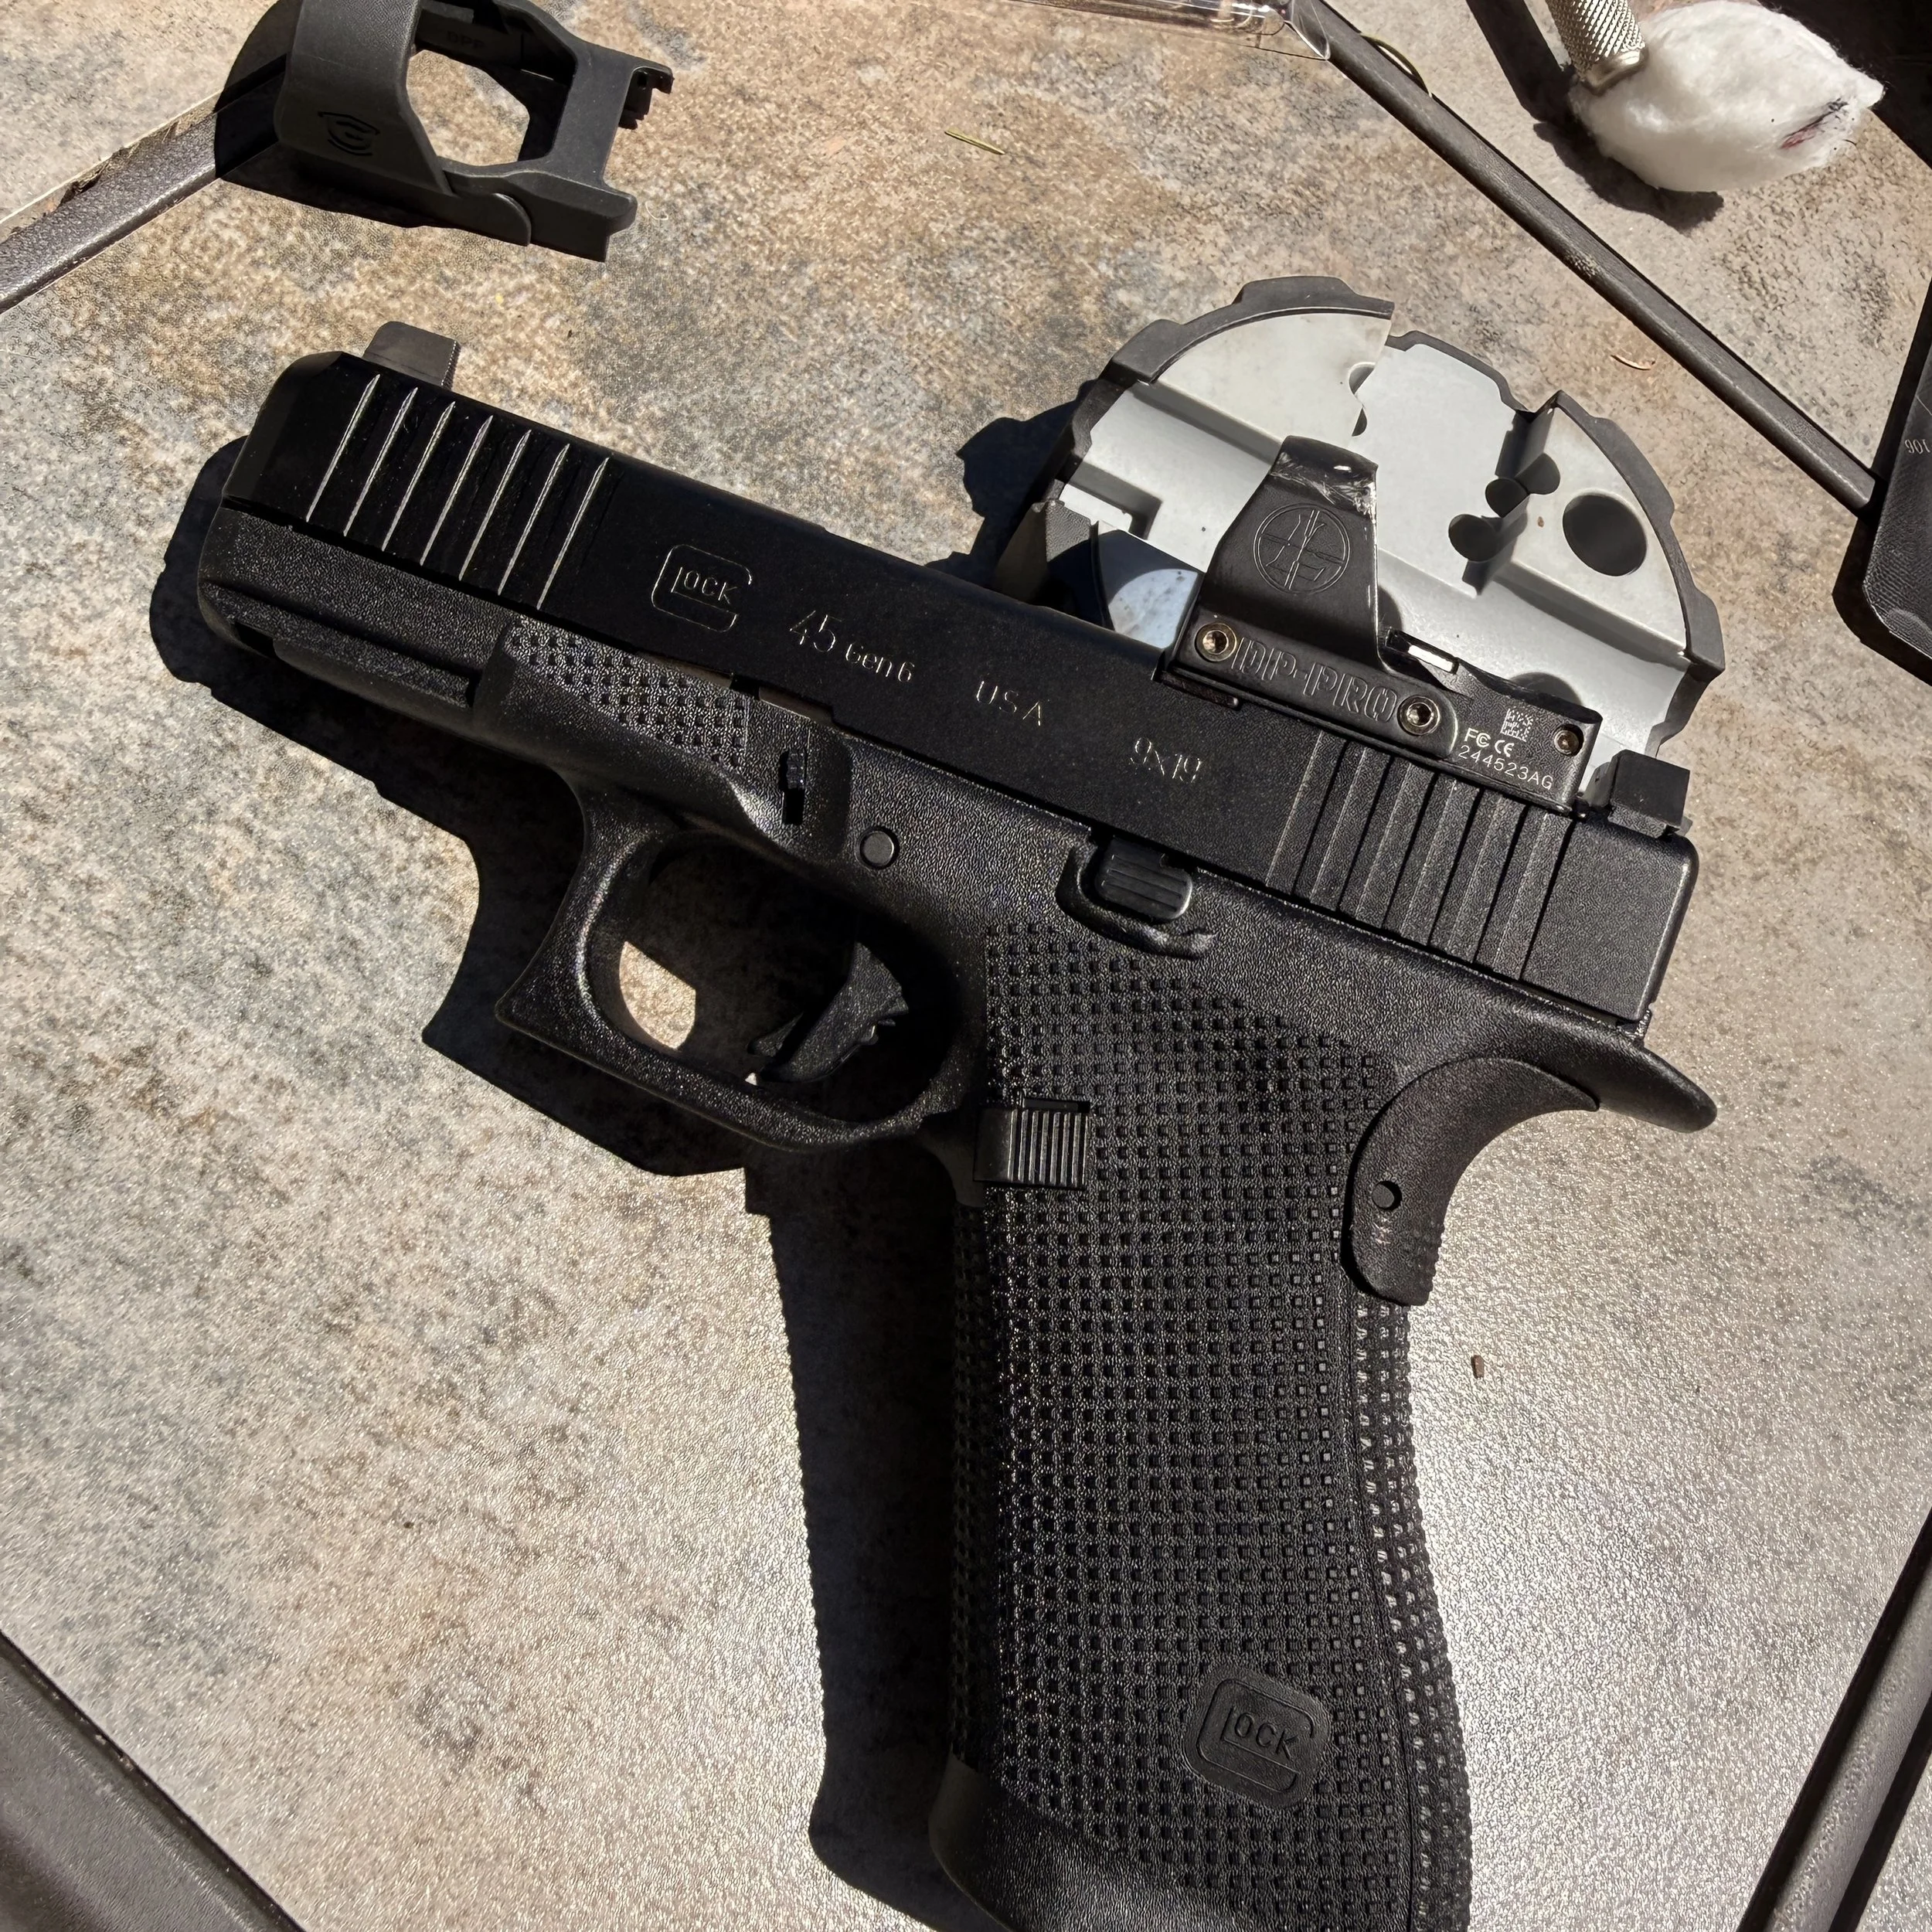
No matter which route you choose, preparation is the key to success. Follow along as I install a Leupold DeltaPoint Pro (DPP) onto a new optics-ready Gen 6 Glock.
Step 1: Upgrading the Iron Sights
While my primary focus is now on the red dot, I still require functional iron sights as a co-witness backup in case the electronics fail when I need them most. For all their strengths, Glock still ships most of their pistols with fragile plastic sights. This is unacceptable on a duty-grade handgun, and the time to swap them out is before you install your optic.
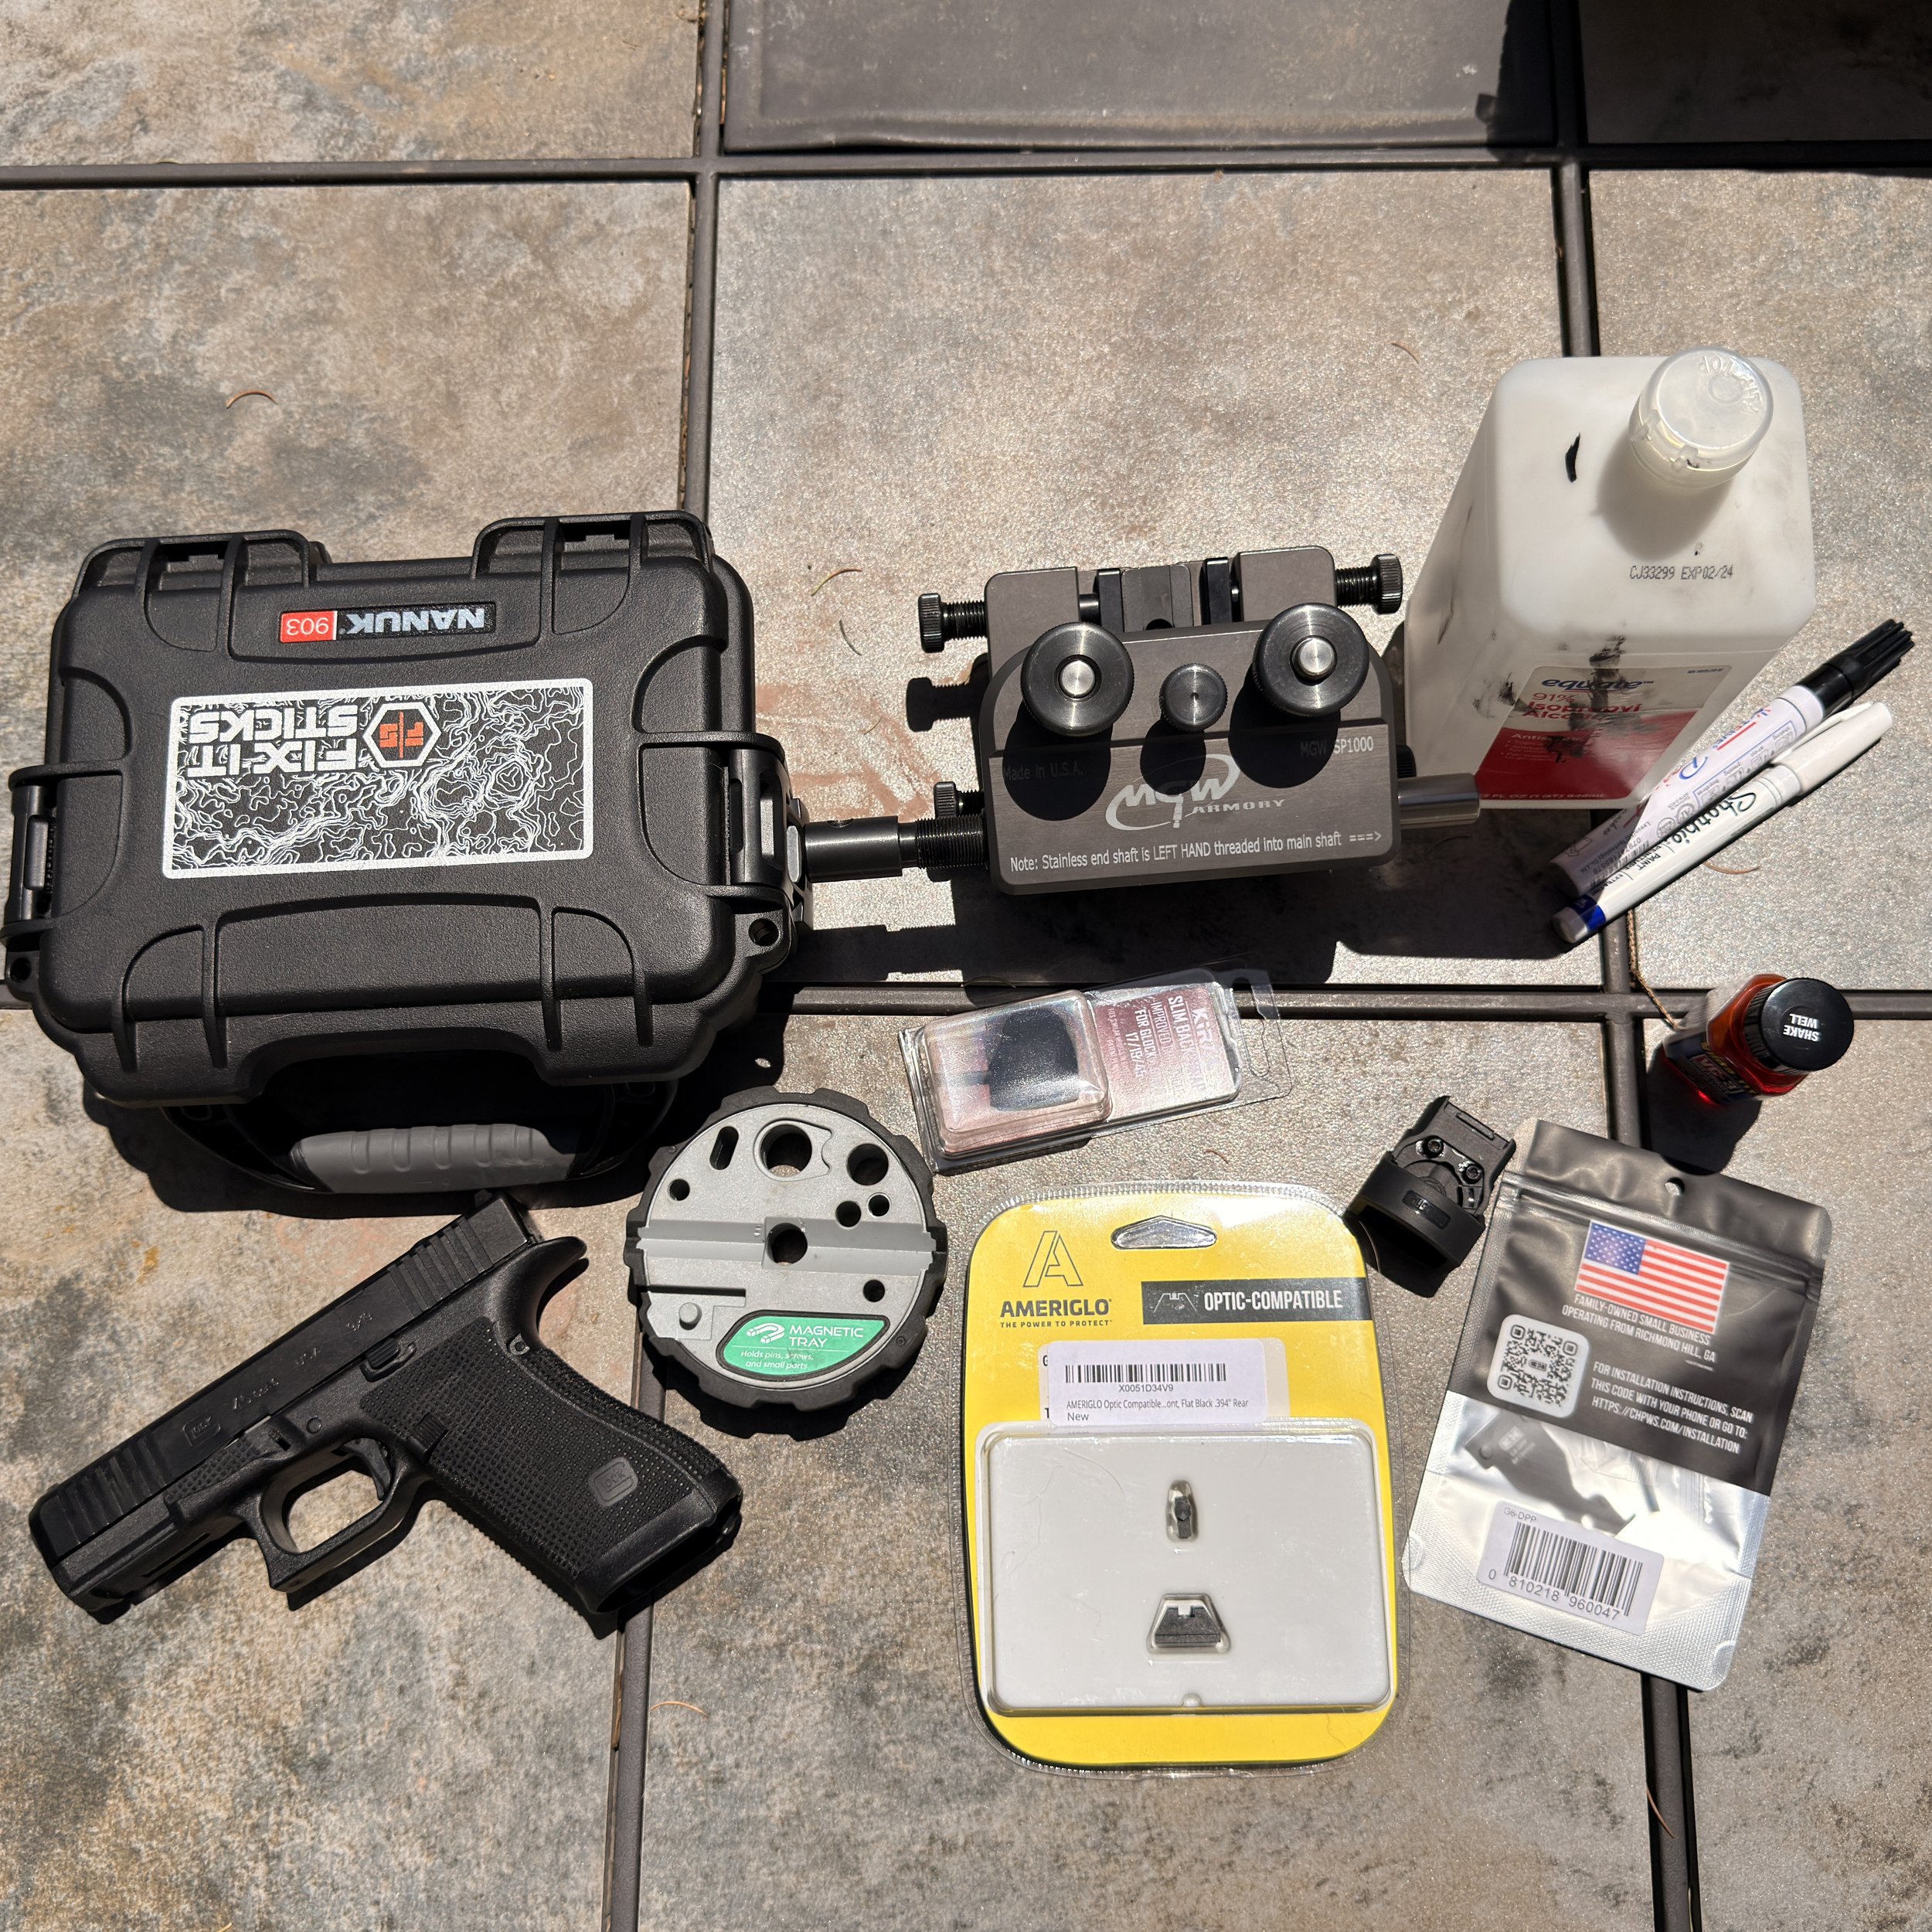
For this build, I chose mid-height Ameriglo steel suppressor-height sights. I opted for plain black front and rear blades with no tritium. Because these are strictly backup sights, I don't want glowing tritium vials cluttering my sight picture and distracting my eyes from the red dot in low-light environments.
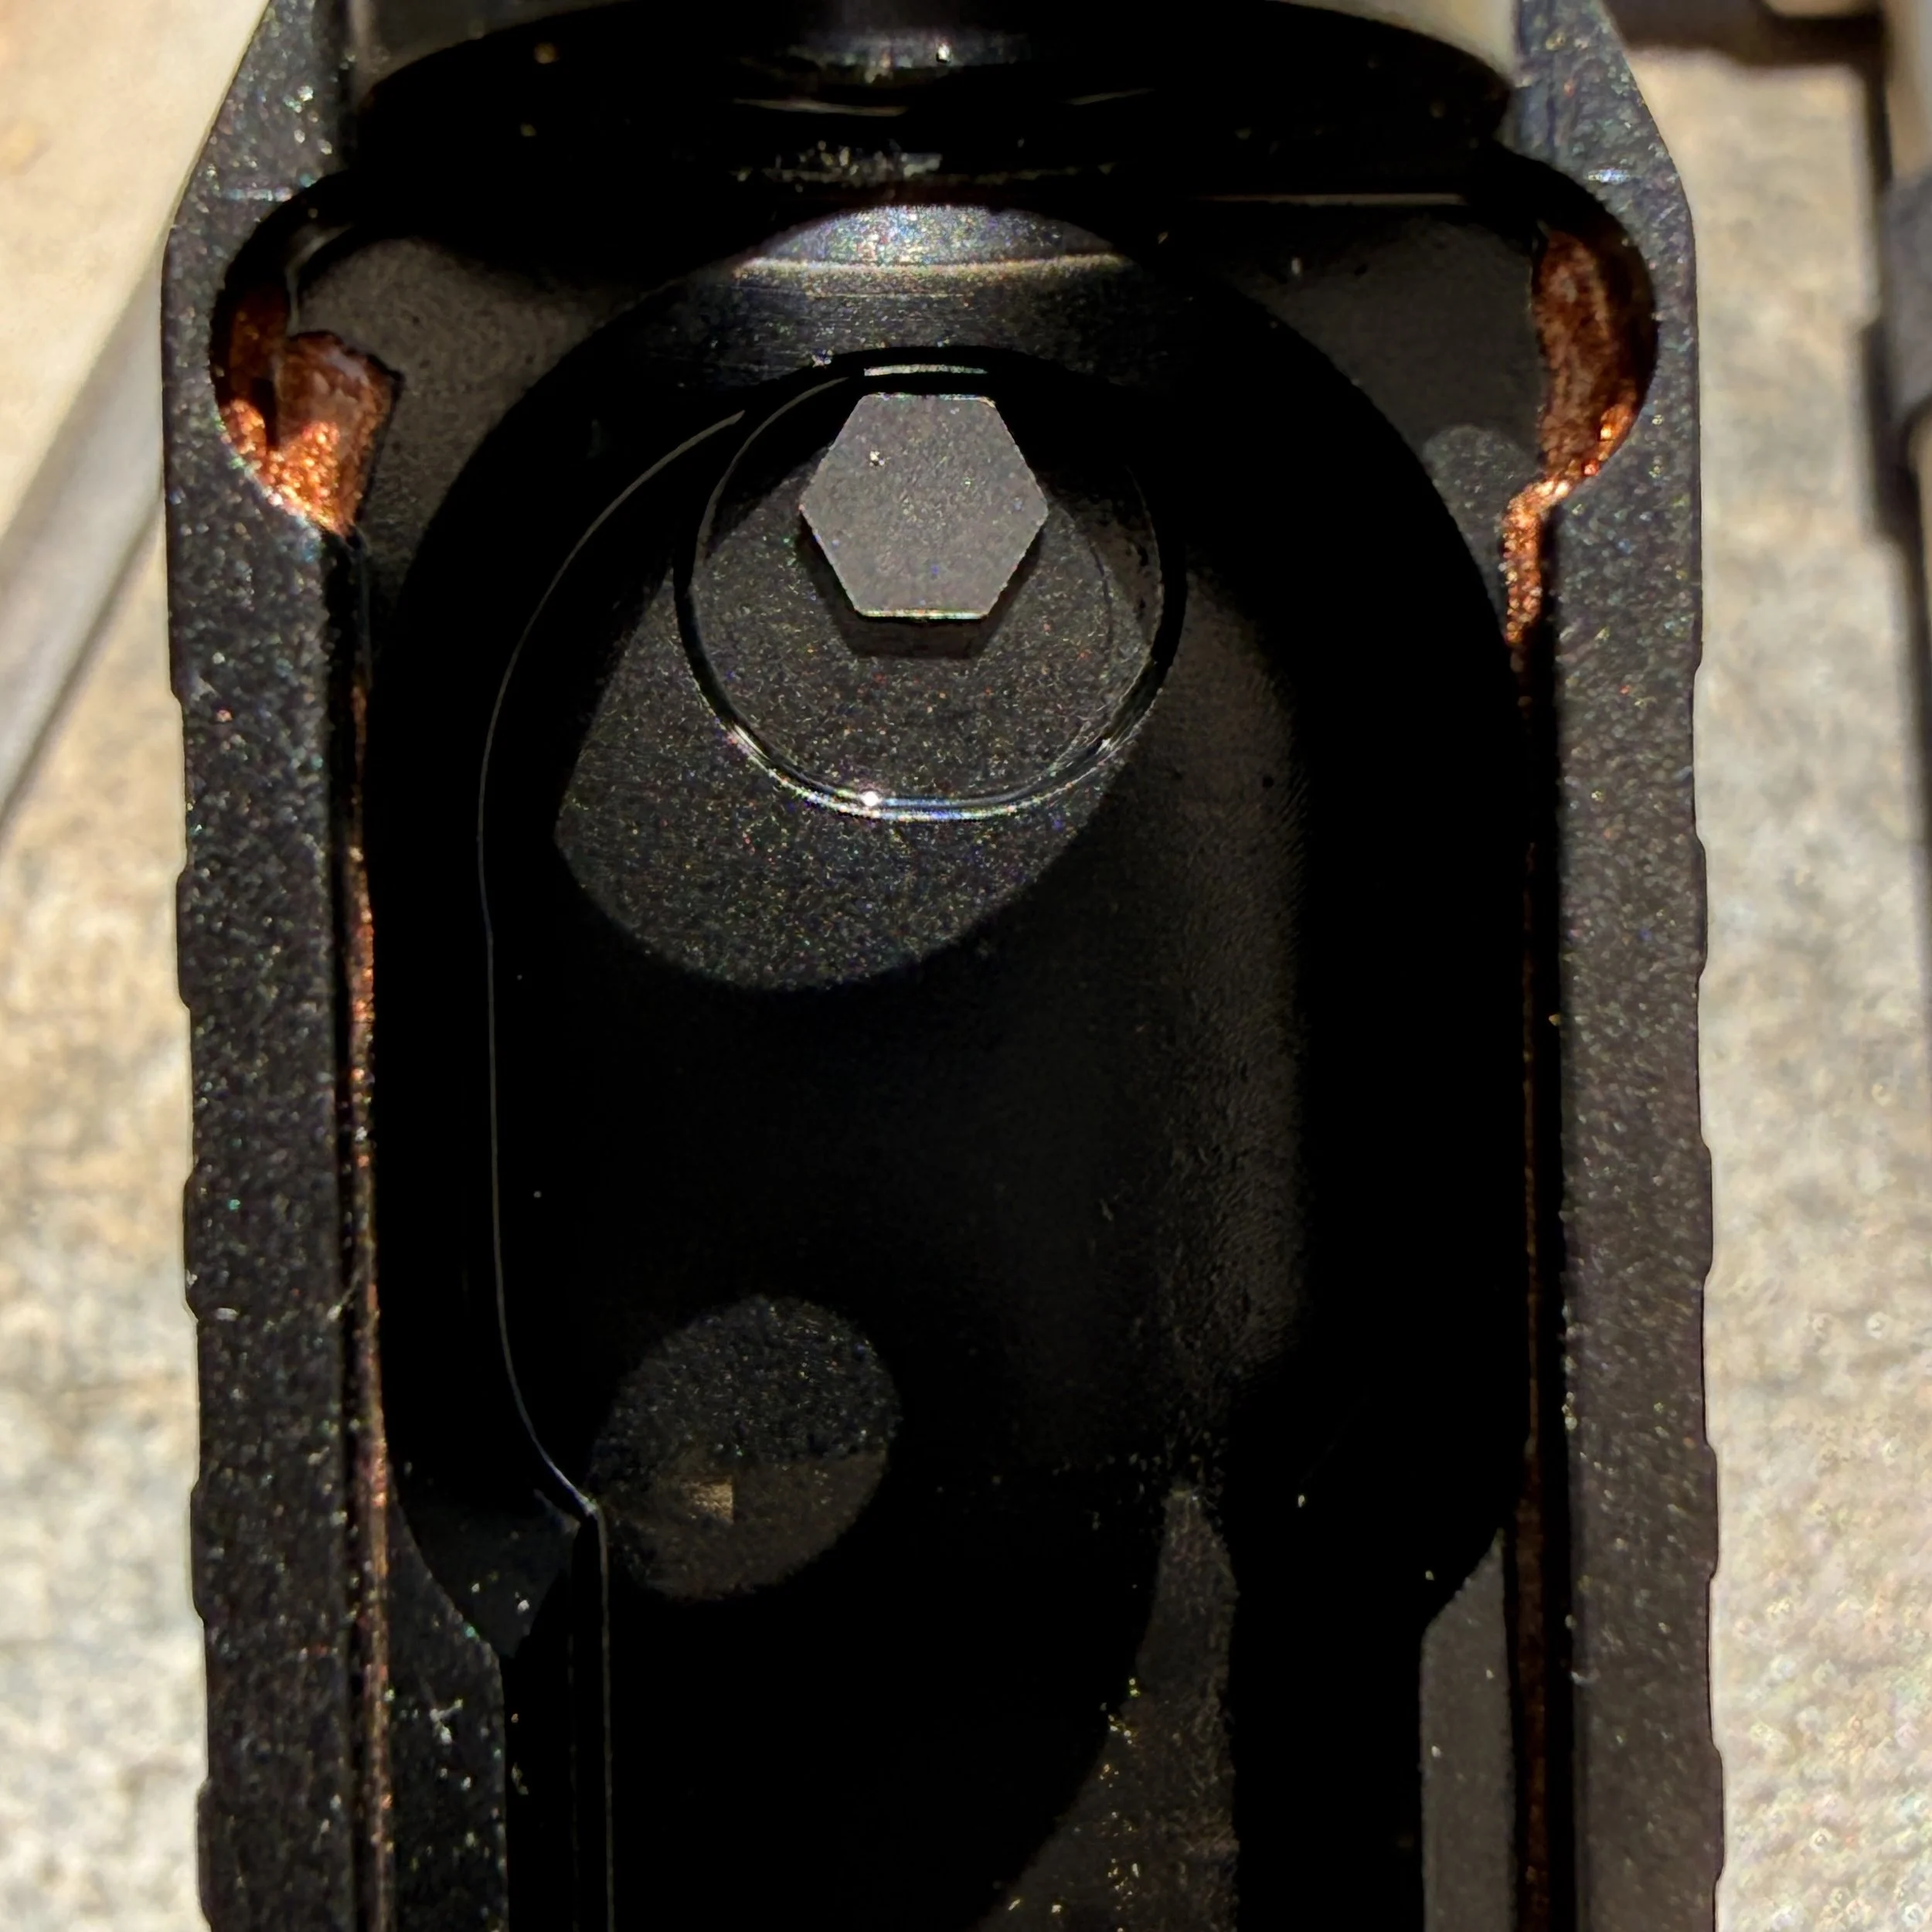
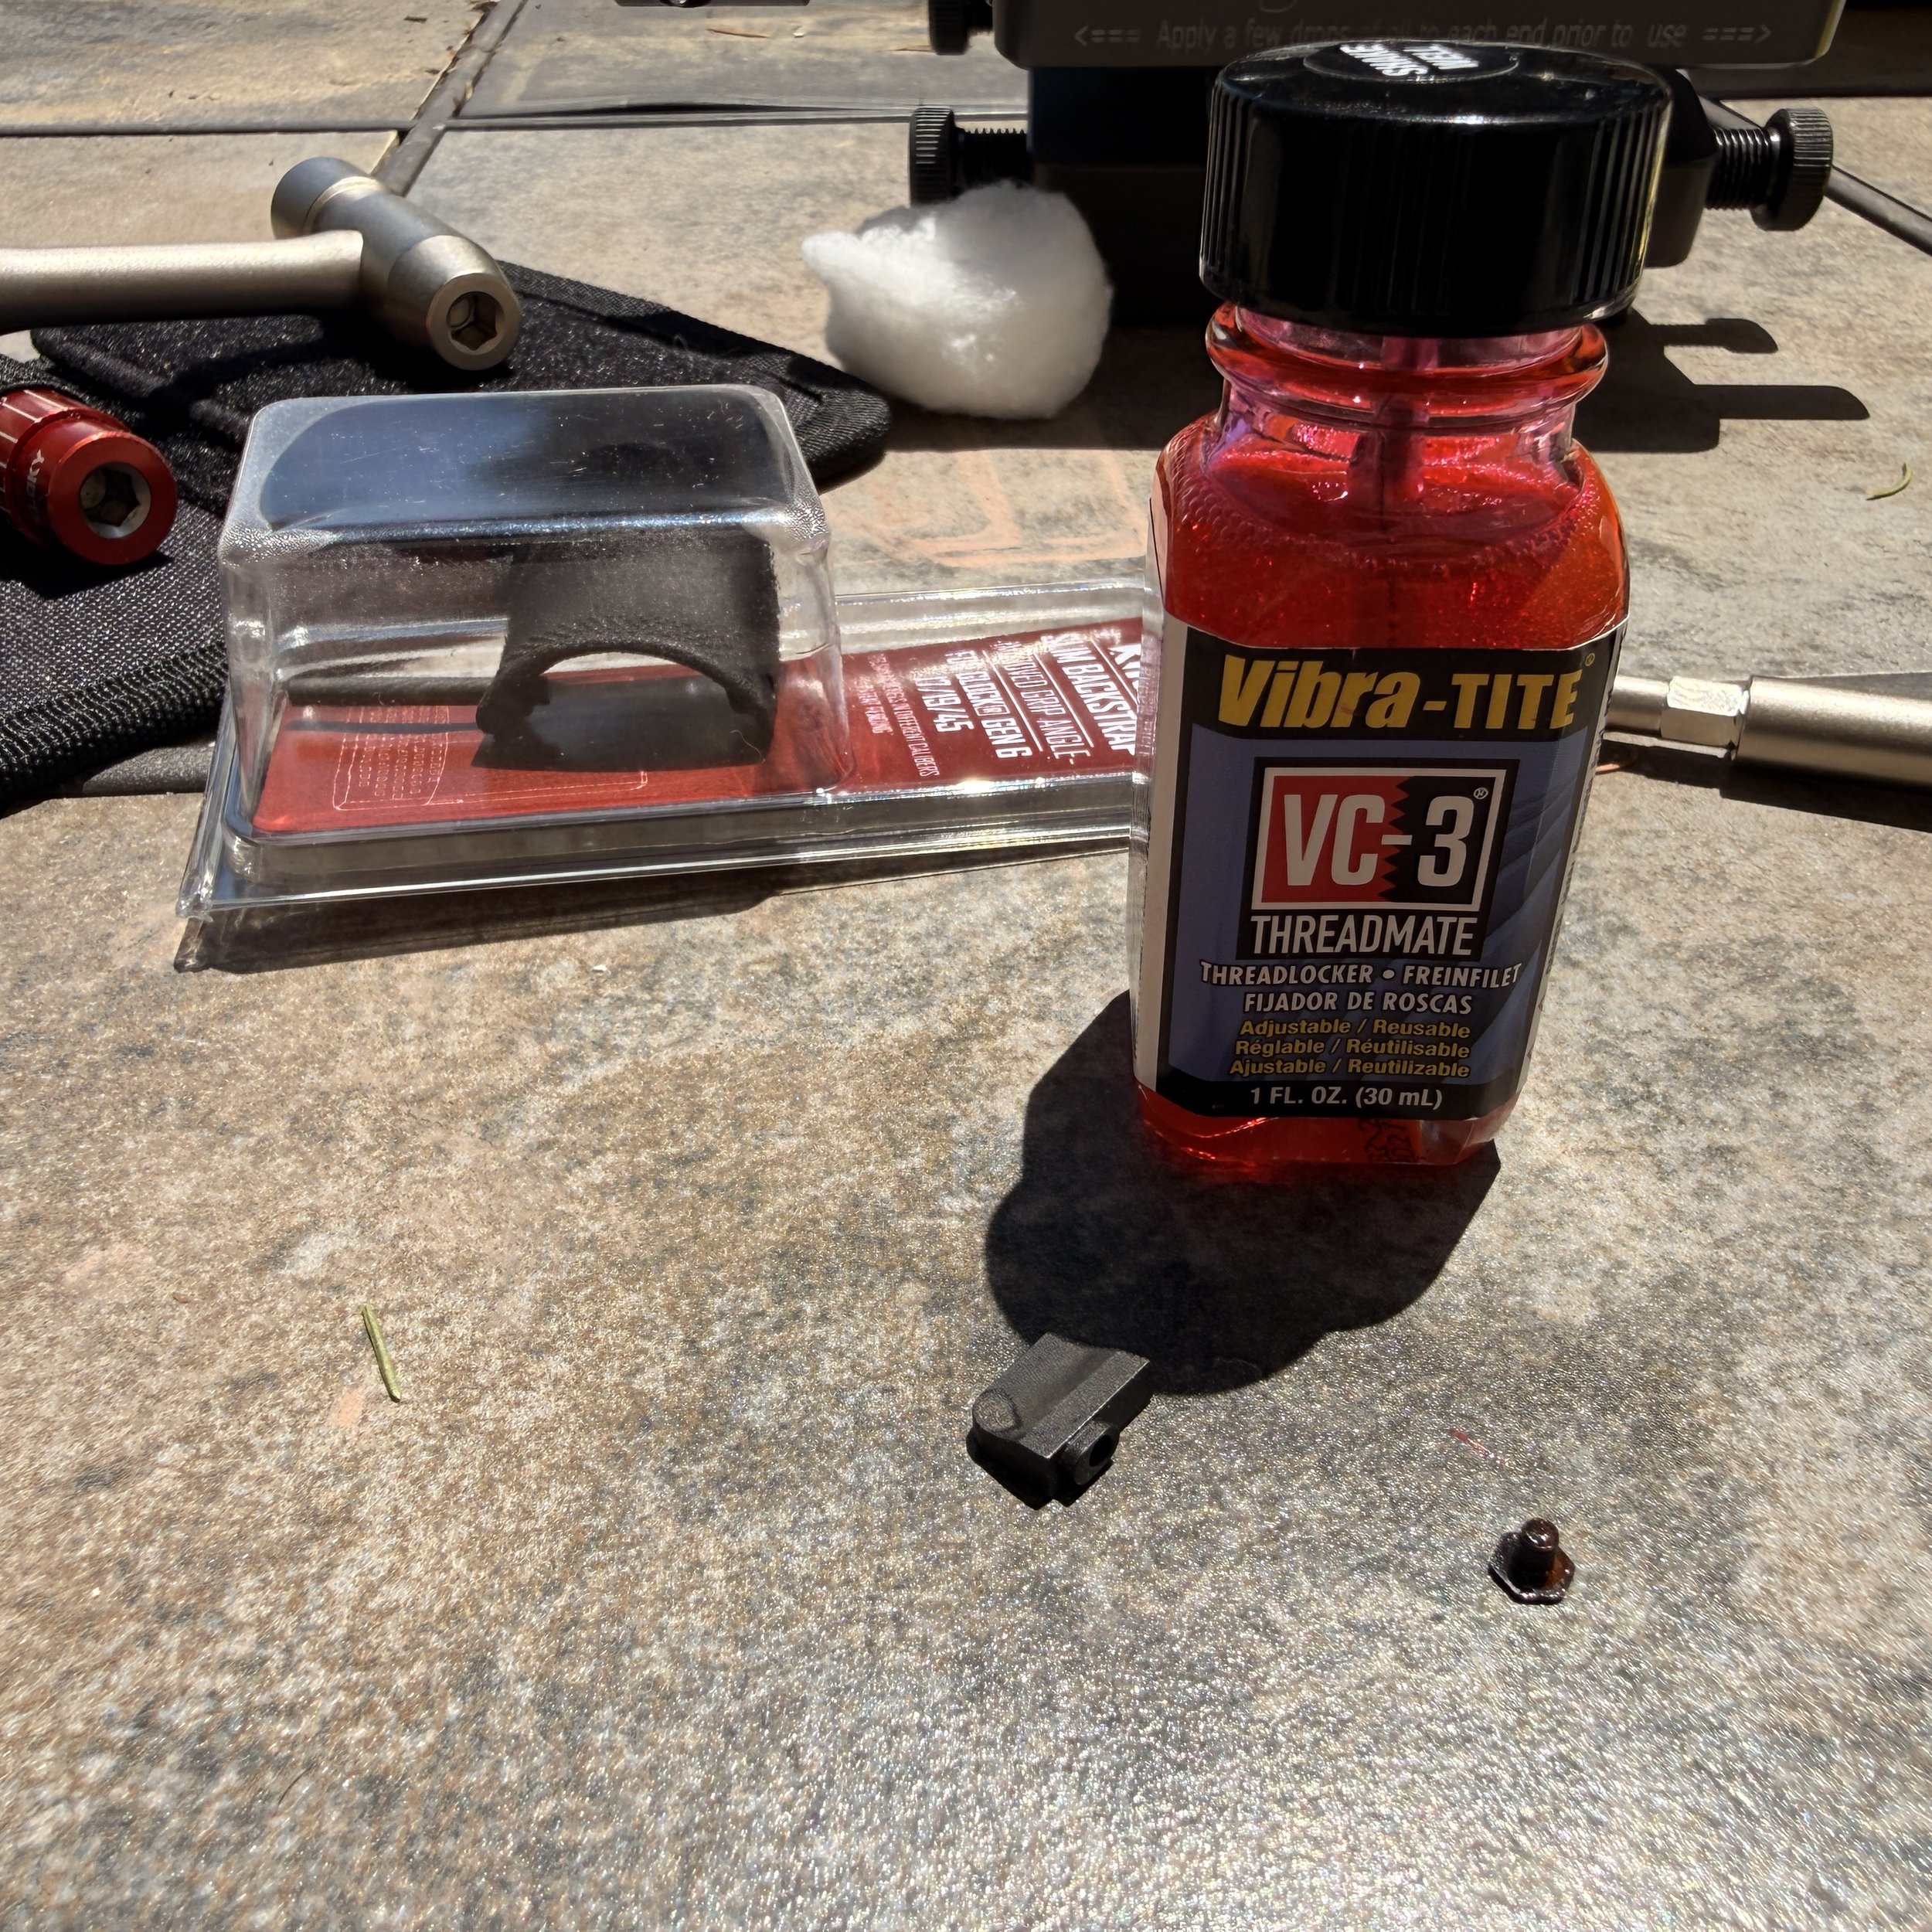
The front sight on a Glock is held in place by a small hex screw and requires a specialized thin-walled front sight tool to engage it.
● The Process: Thoroughly clean and degrease both the screw and the front sight pocket. Once clean and dry, apply a dab of thread locker to the screw. While blue Loctite is standard, I prefer Vibra-TITE VC-3. It is a viscous formula that stays flexible, absorbs shock, and is less susceptible to degrading under intense barrel heat.
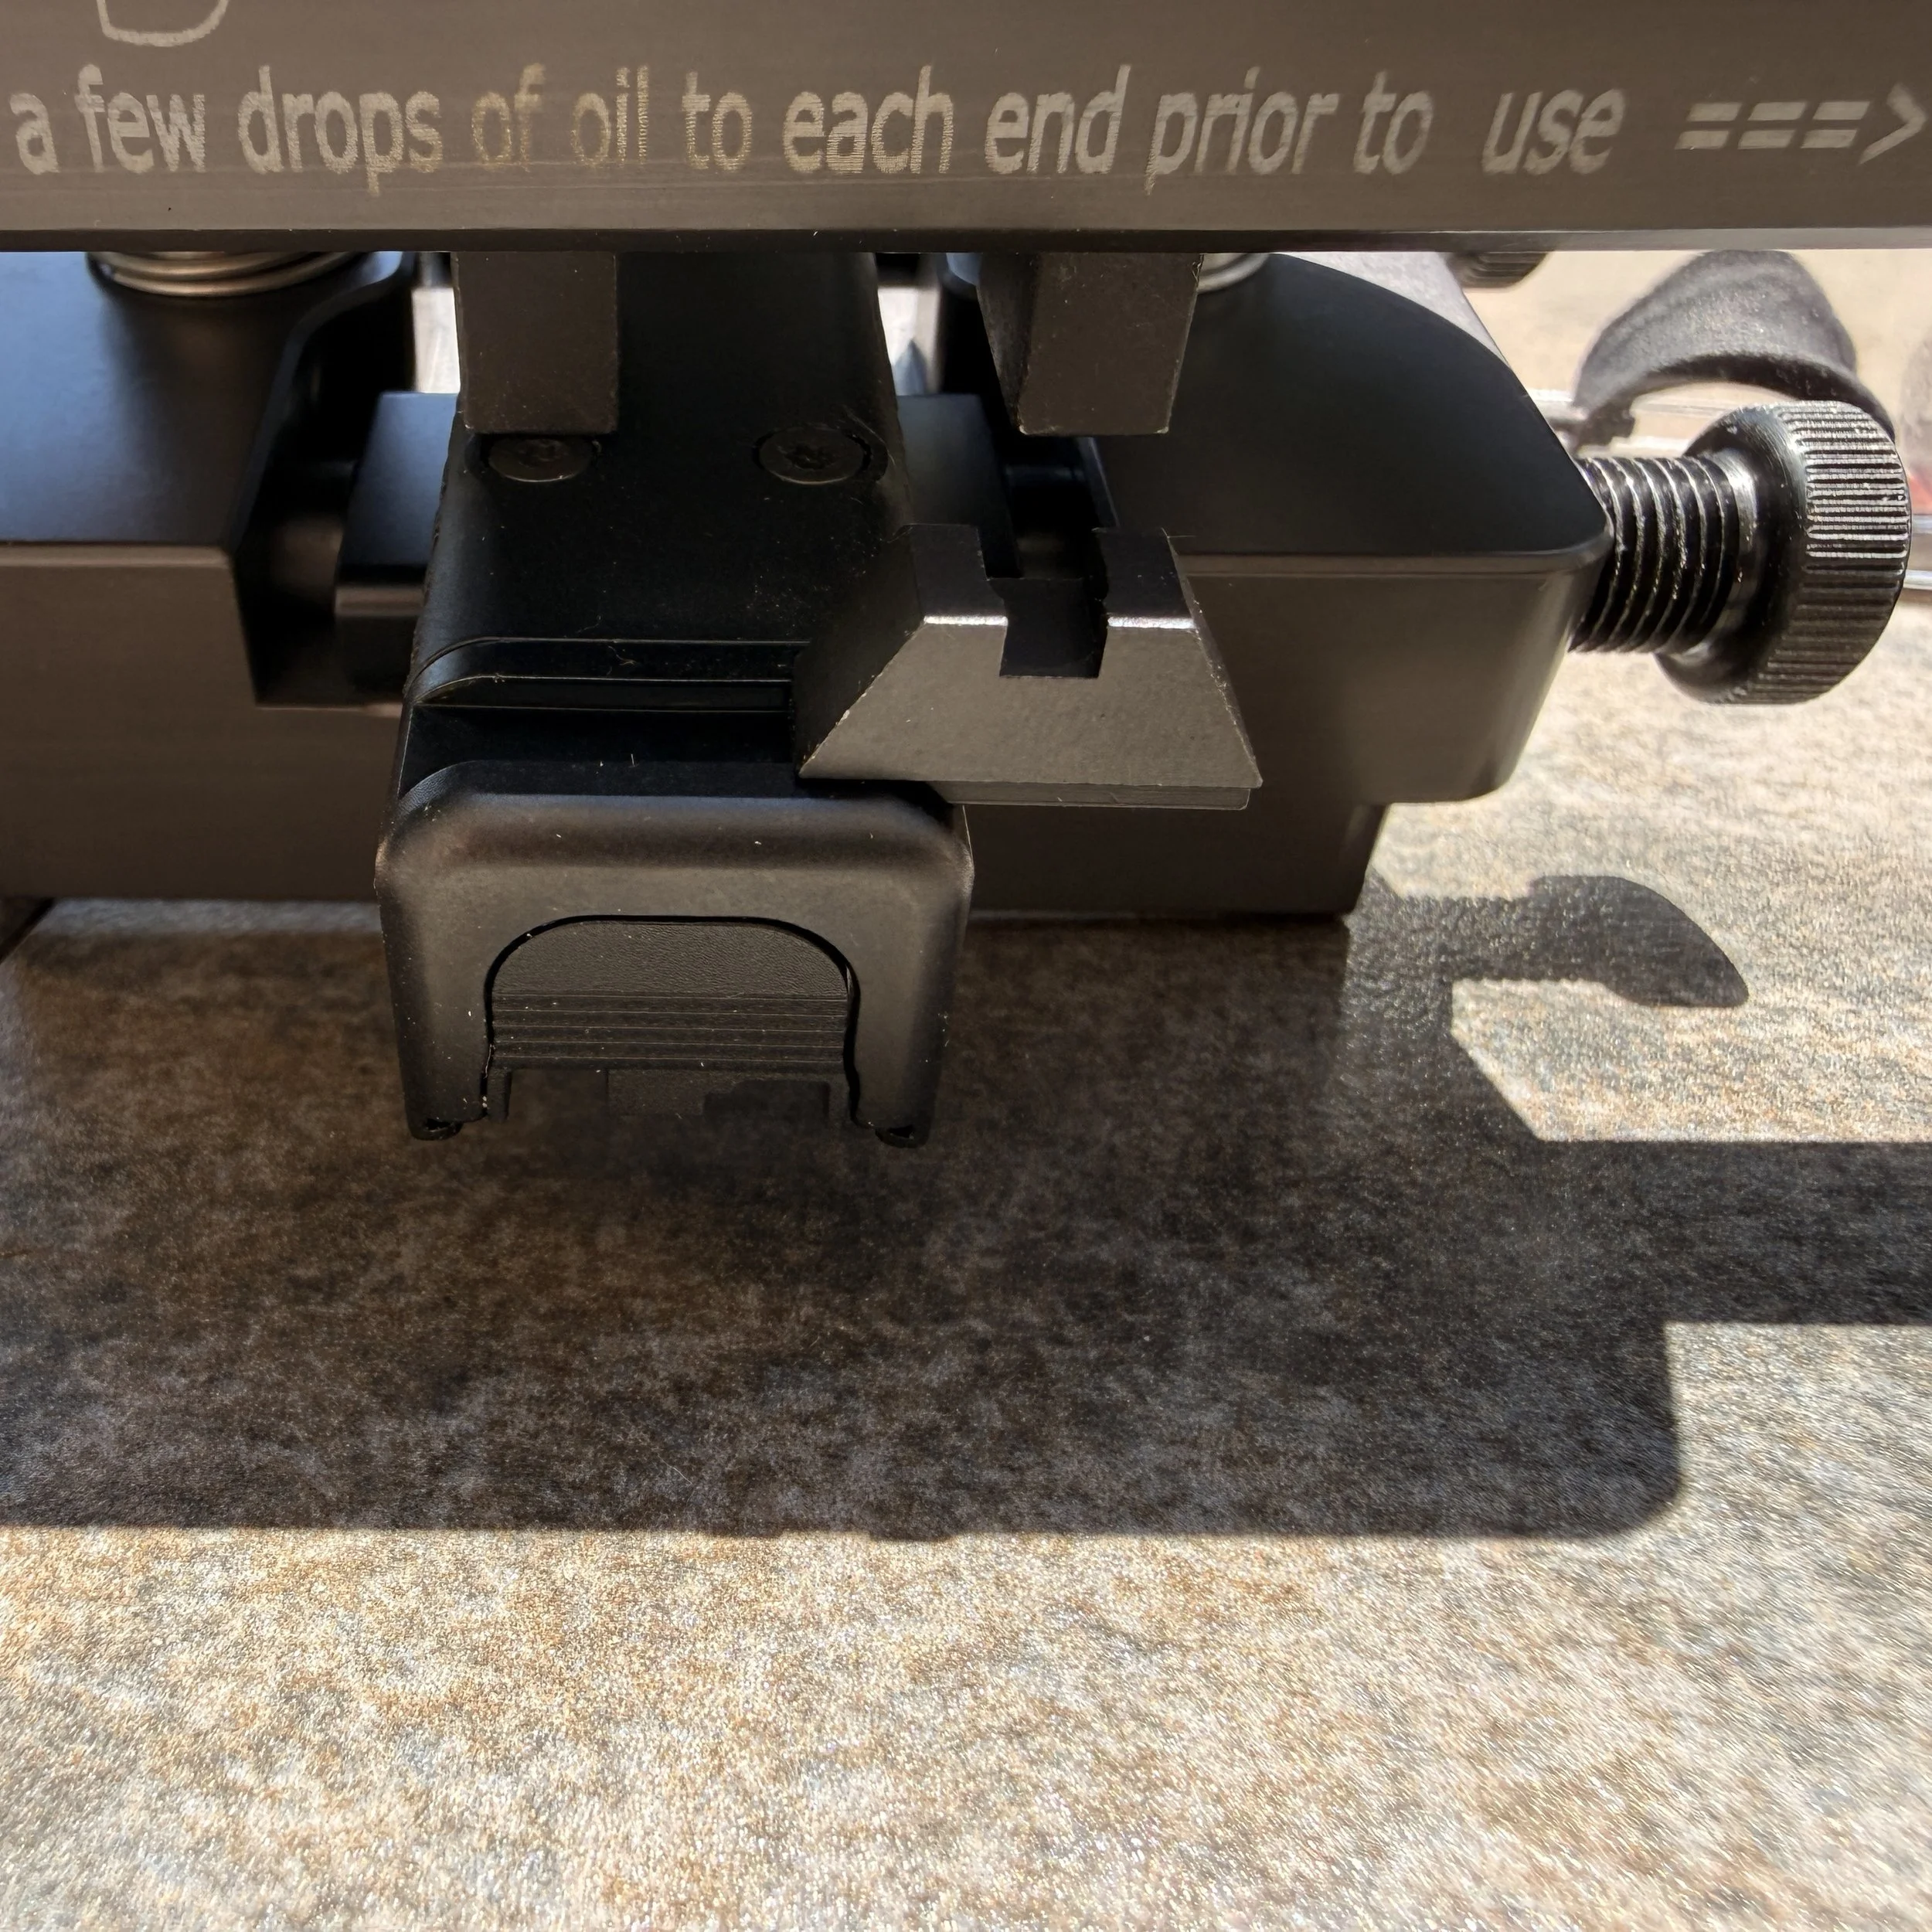
● The Rear Sight: While you can drift rear sights using a brass punch and a hammer, I strongly suggest investing in a dedicated sight pusher tool. It ensures precise alignment without marring the slide's finish.
Step 2: Selecting the Interface
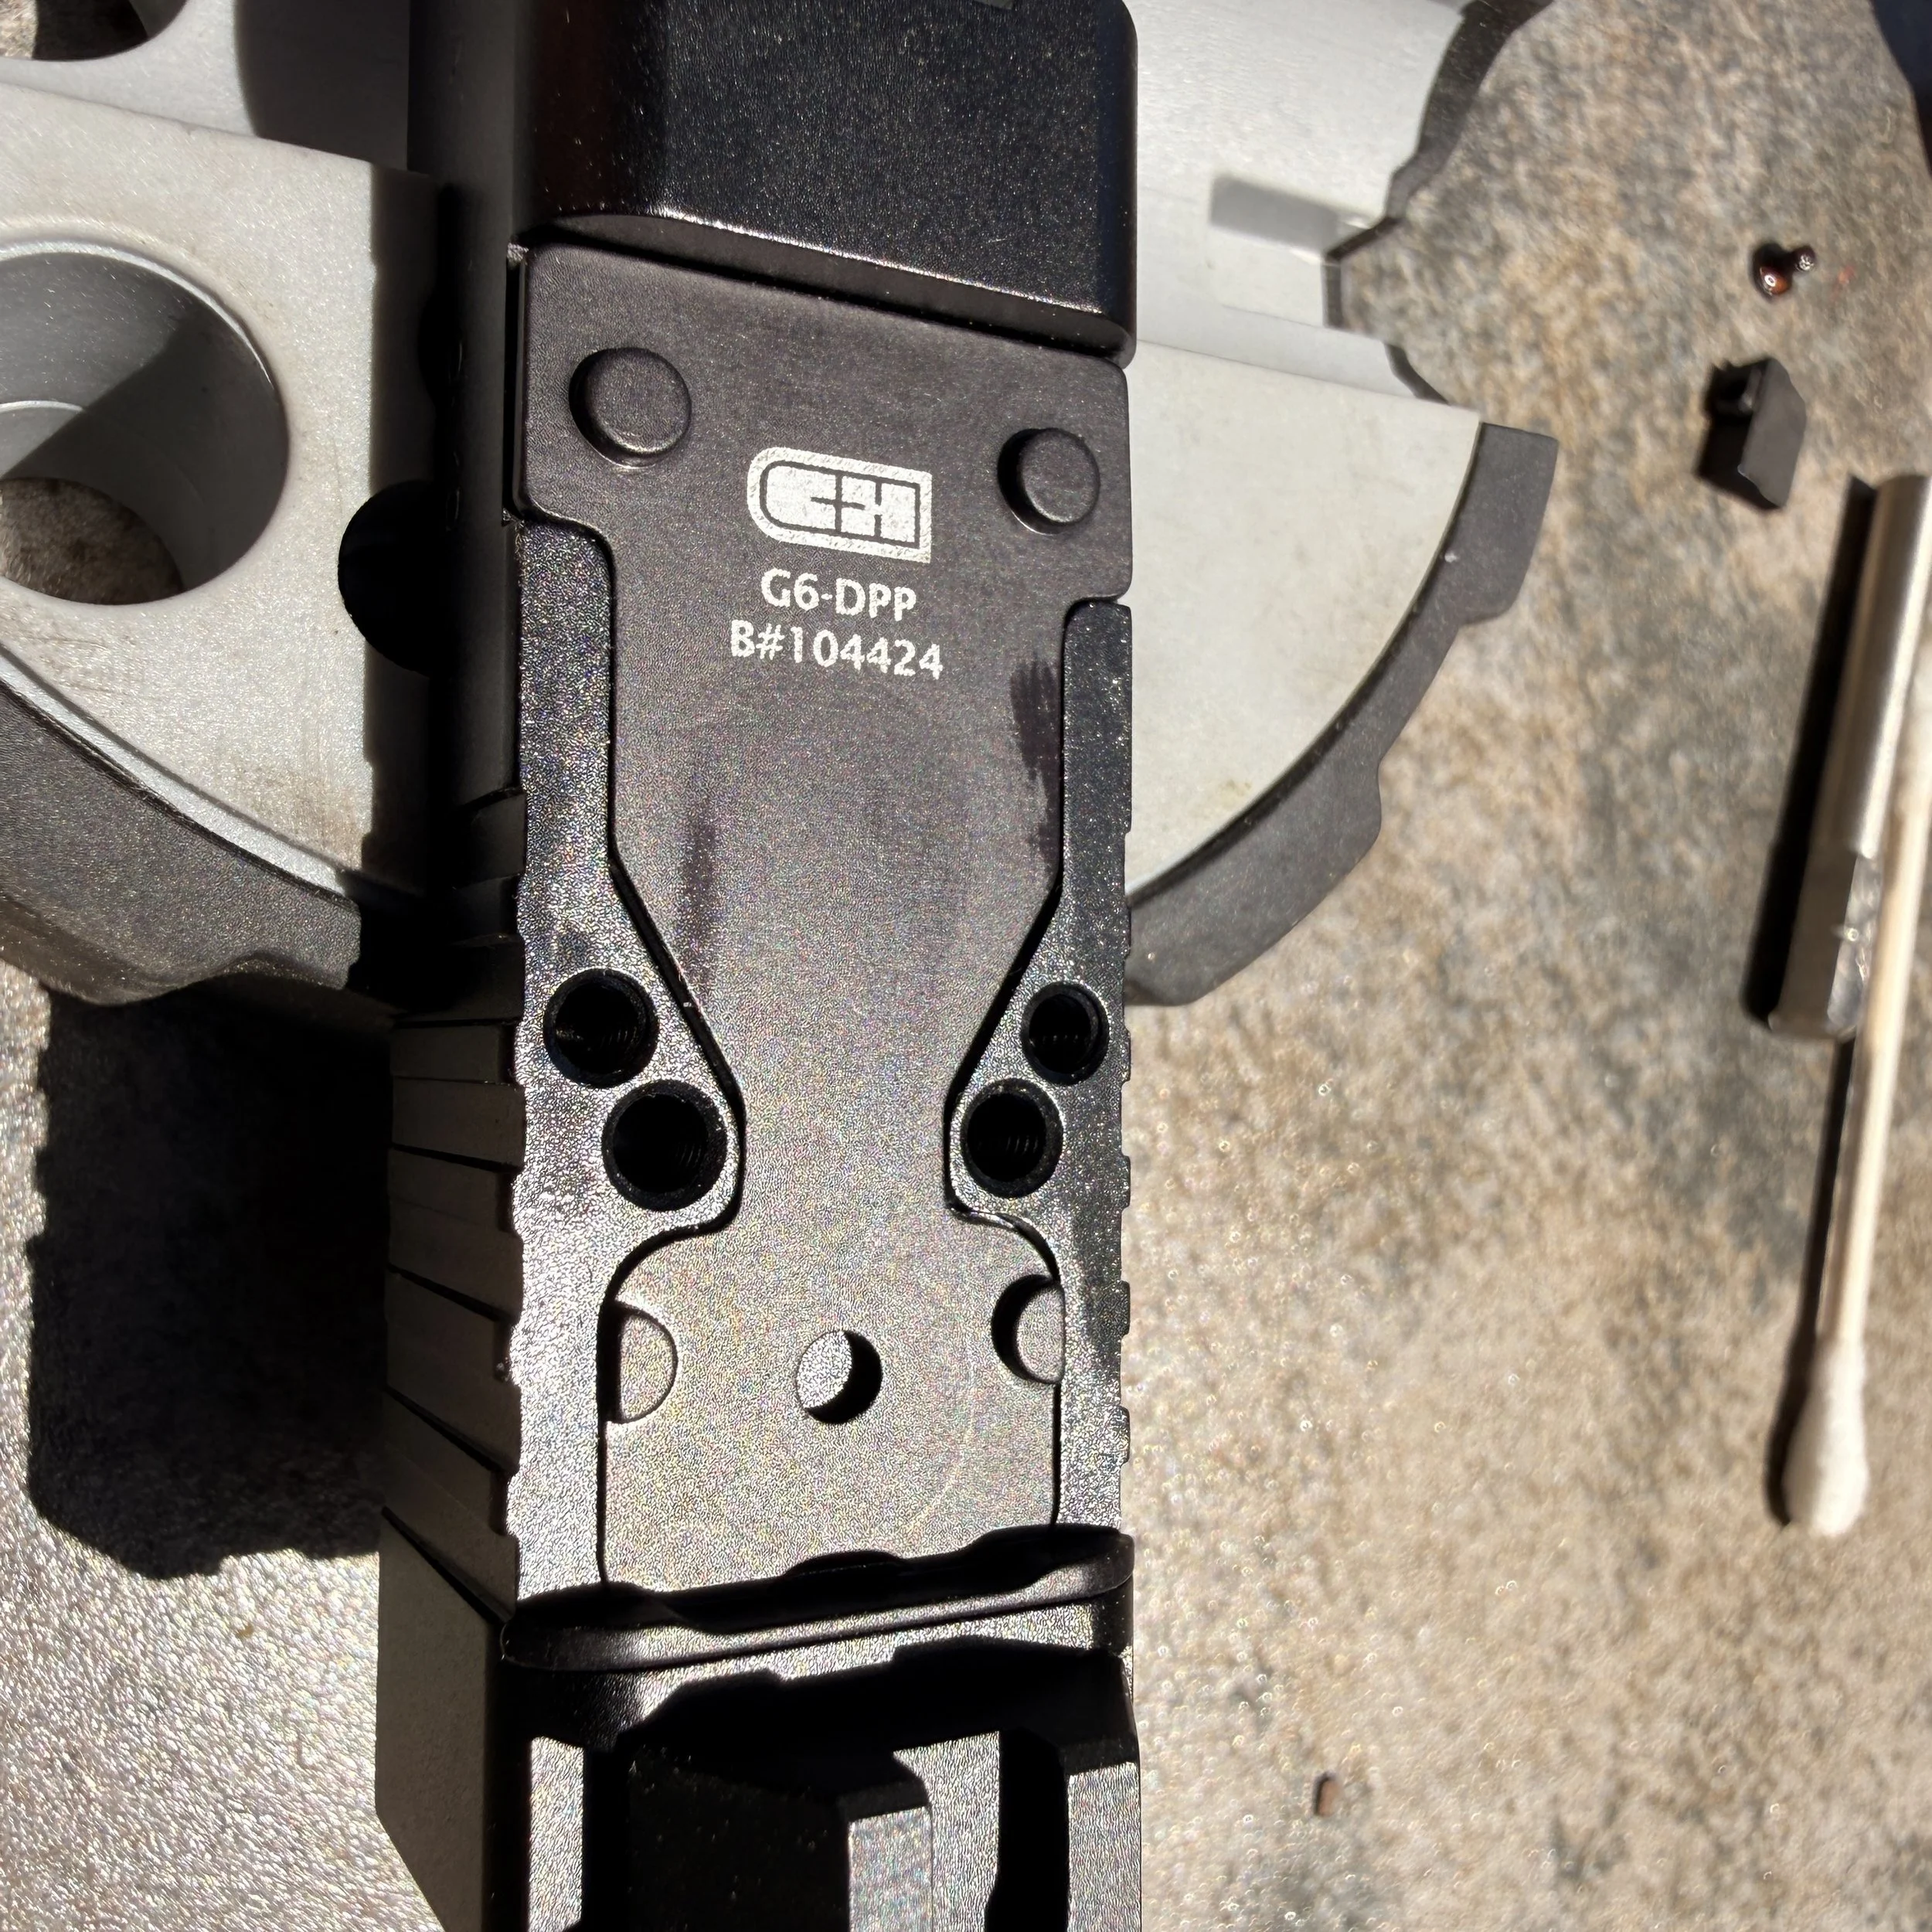
When dealing with plate or gasket systems, material choice matters. Many stock factory plates are made of polymer or thin, stamped metal, which doesn't always inspire long-term confidence under the violent reciprocating force of a slide. For this installation, I utilized an aftermarket plate from C&H Precision. They machine high-quality, ultra-precise plates from aluminum or steel that ensure a perfect, snug fit with maximum thread engagement.
Step 3: Dry Fitting and Degreasing
Prior to final installation, lay out all your components and perform a dry fit. Do not apply thread locker or torque the screws yet. You want to verify that the screws are the correct length; screws that are too long can pass through the slide and bind the extractor depressor plunger on the right side, causing malfunctions.
Once you verify that everything fits flush and aligns perfectly, it's time to prep the surfaces:
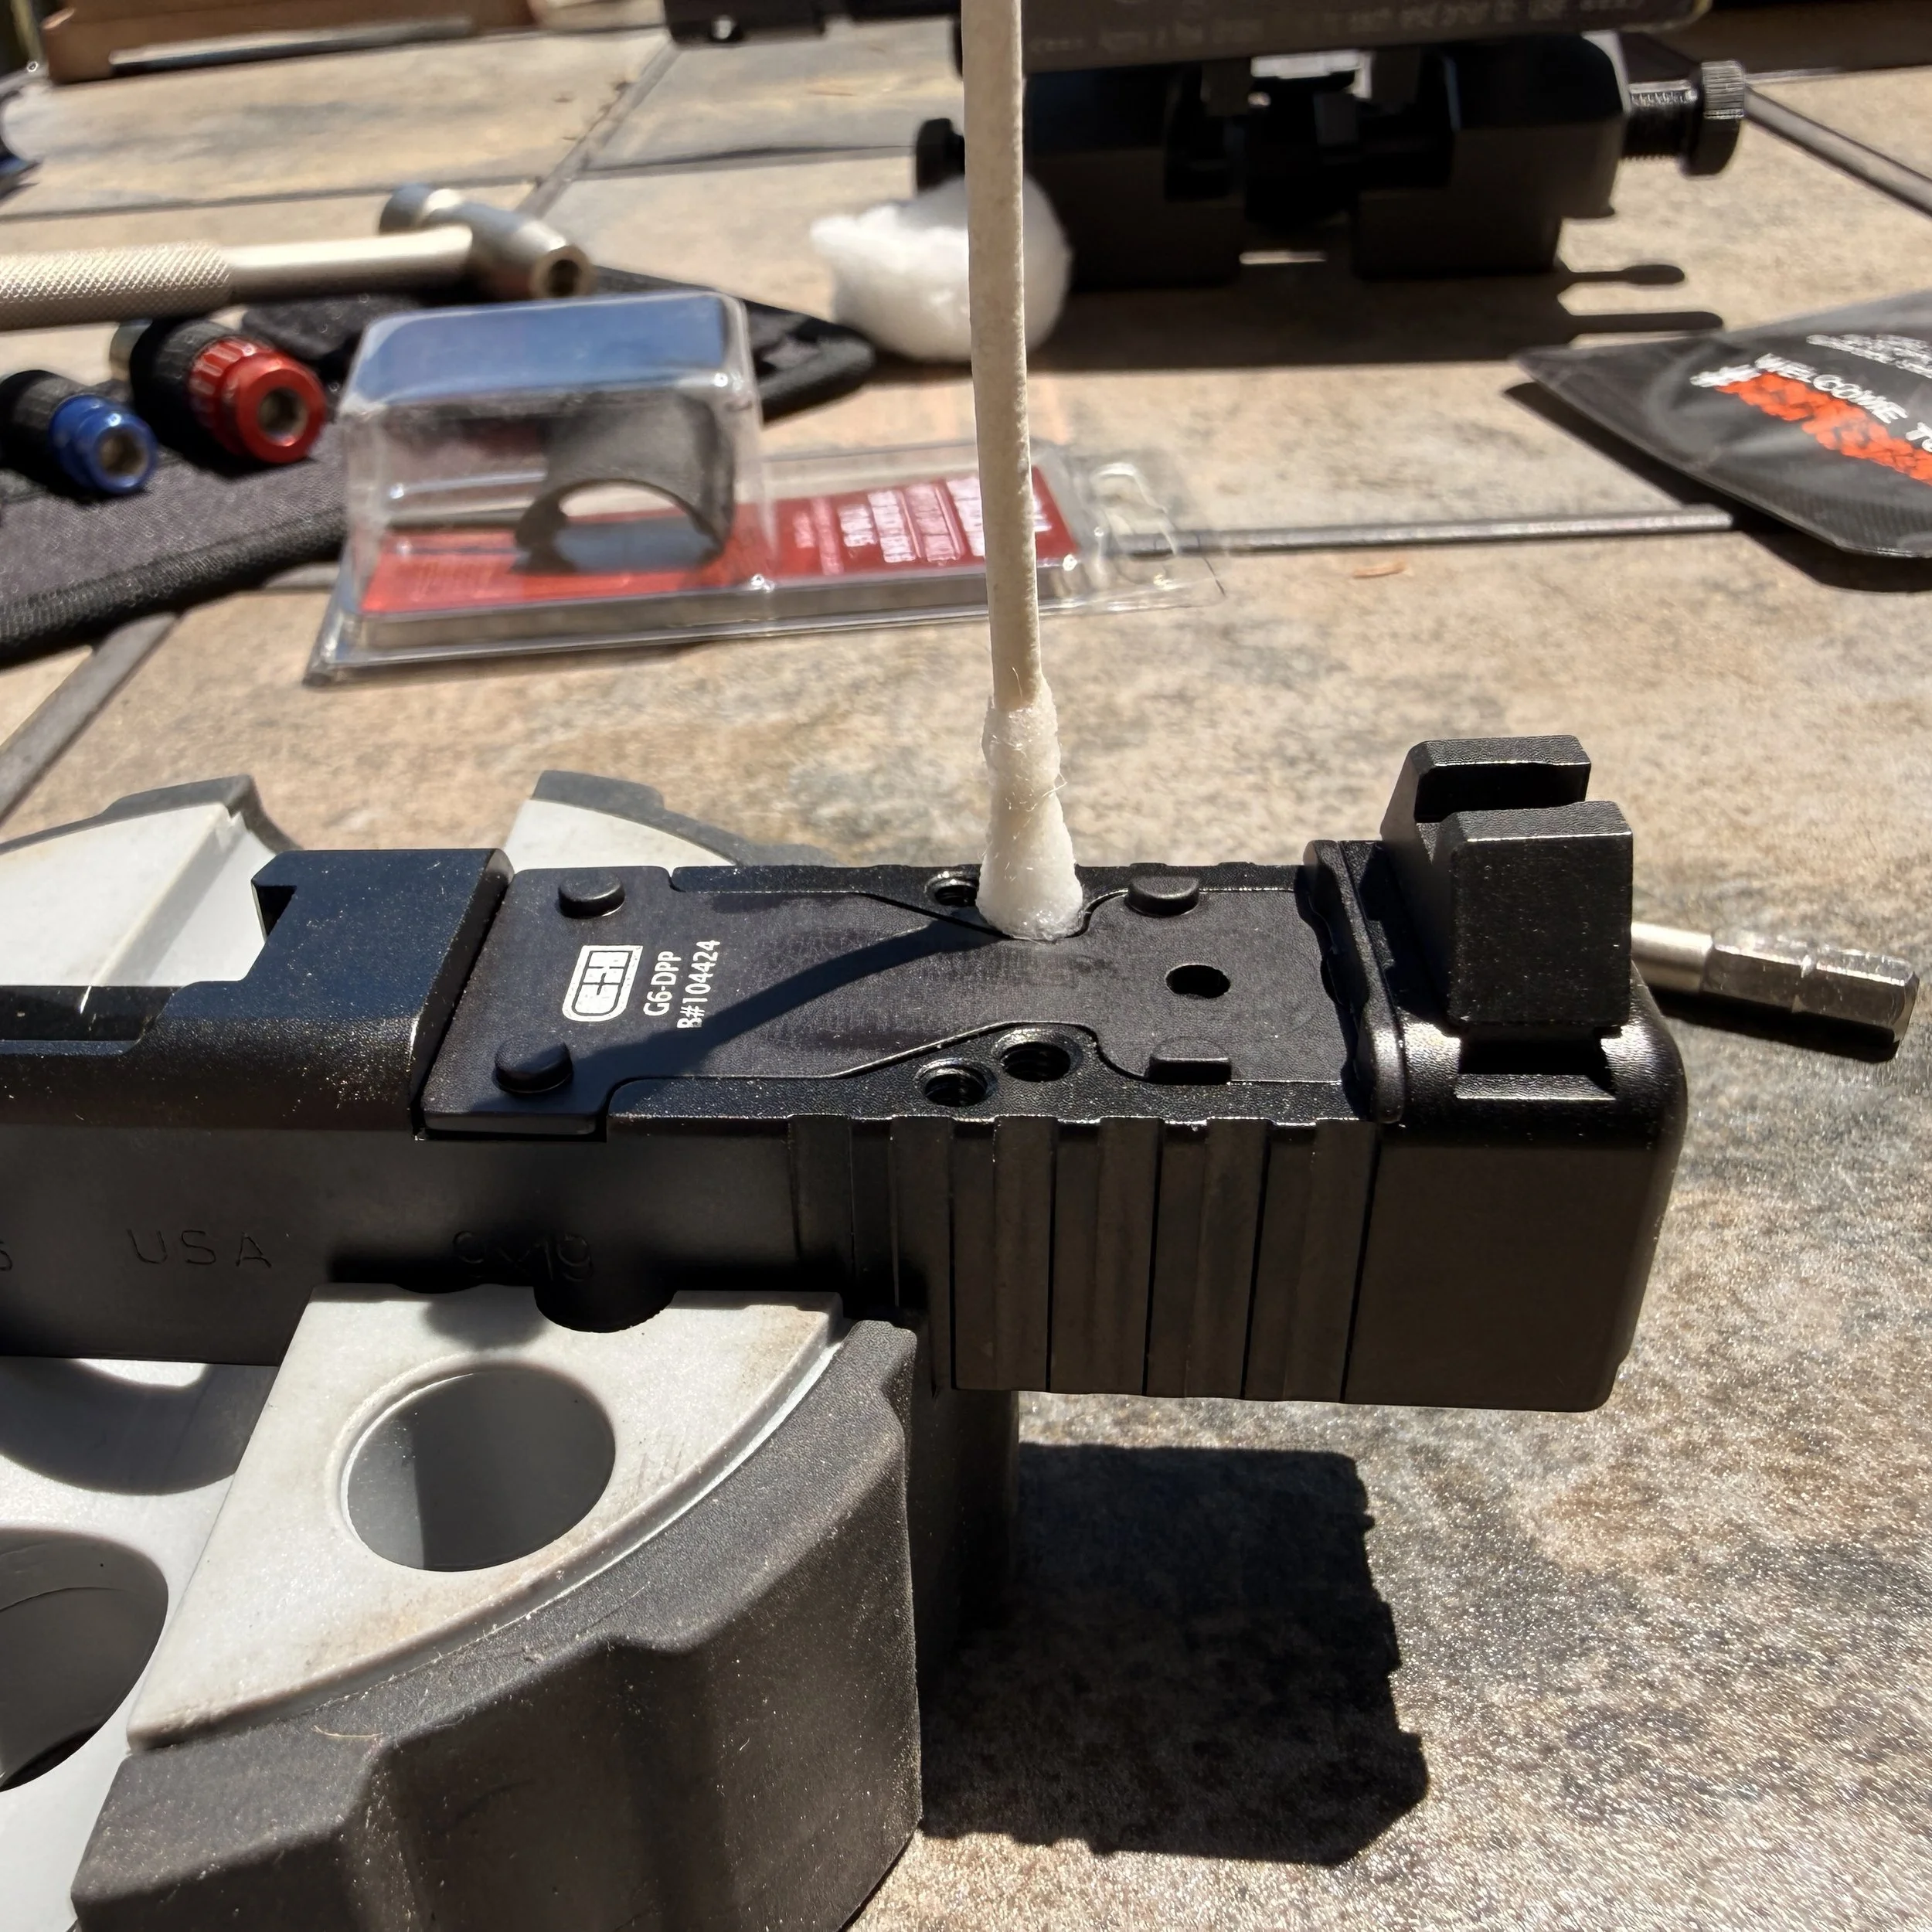
Degrease: Spray the slide threads, plate, and mounting screws with a high-quality degreaser (like denatured alcohol or electronic cleaner) to remove the factory packing oil. Residual oil is the number one cause of screws backing out.
Inspect the Screws: Many optic screws come with a pre-applied patch of dry thread locker (usually a blue or red film). I do not rely on this alone. While I don't scrub it off completely, I always supplement it with fresh thread locker.
Step 4: Thread Locker and Proper Torquing
If you are using liquid thread locker like Loctite 242 (Blue), apply it sparingly to the threads. Keep in mind that Loctite requires a full 24 hours to cure before it reaches full strength. If you are using a plate system, mount the plate first, torque it down, and let it cure before mounting the optic onto the plate.
If you prefer Vibra-TITE VC-3, apply a small dab to the screw threads and let it air-dry for 10 to 15 minutes until it is tacky to the touch before installation. Even though Vibra-TITE technically allows for immediate use, I still practice patience and let the entire assembly cure for 24 hours.
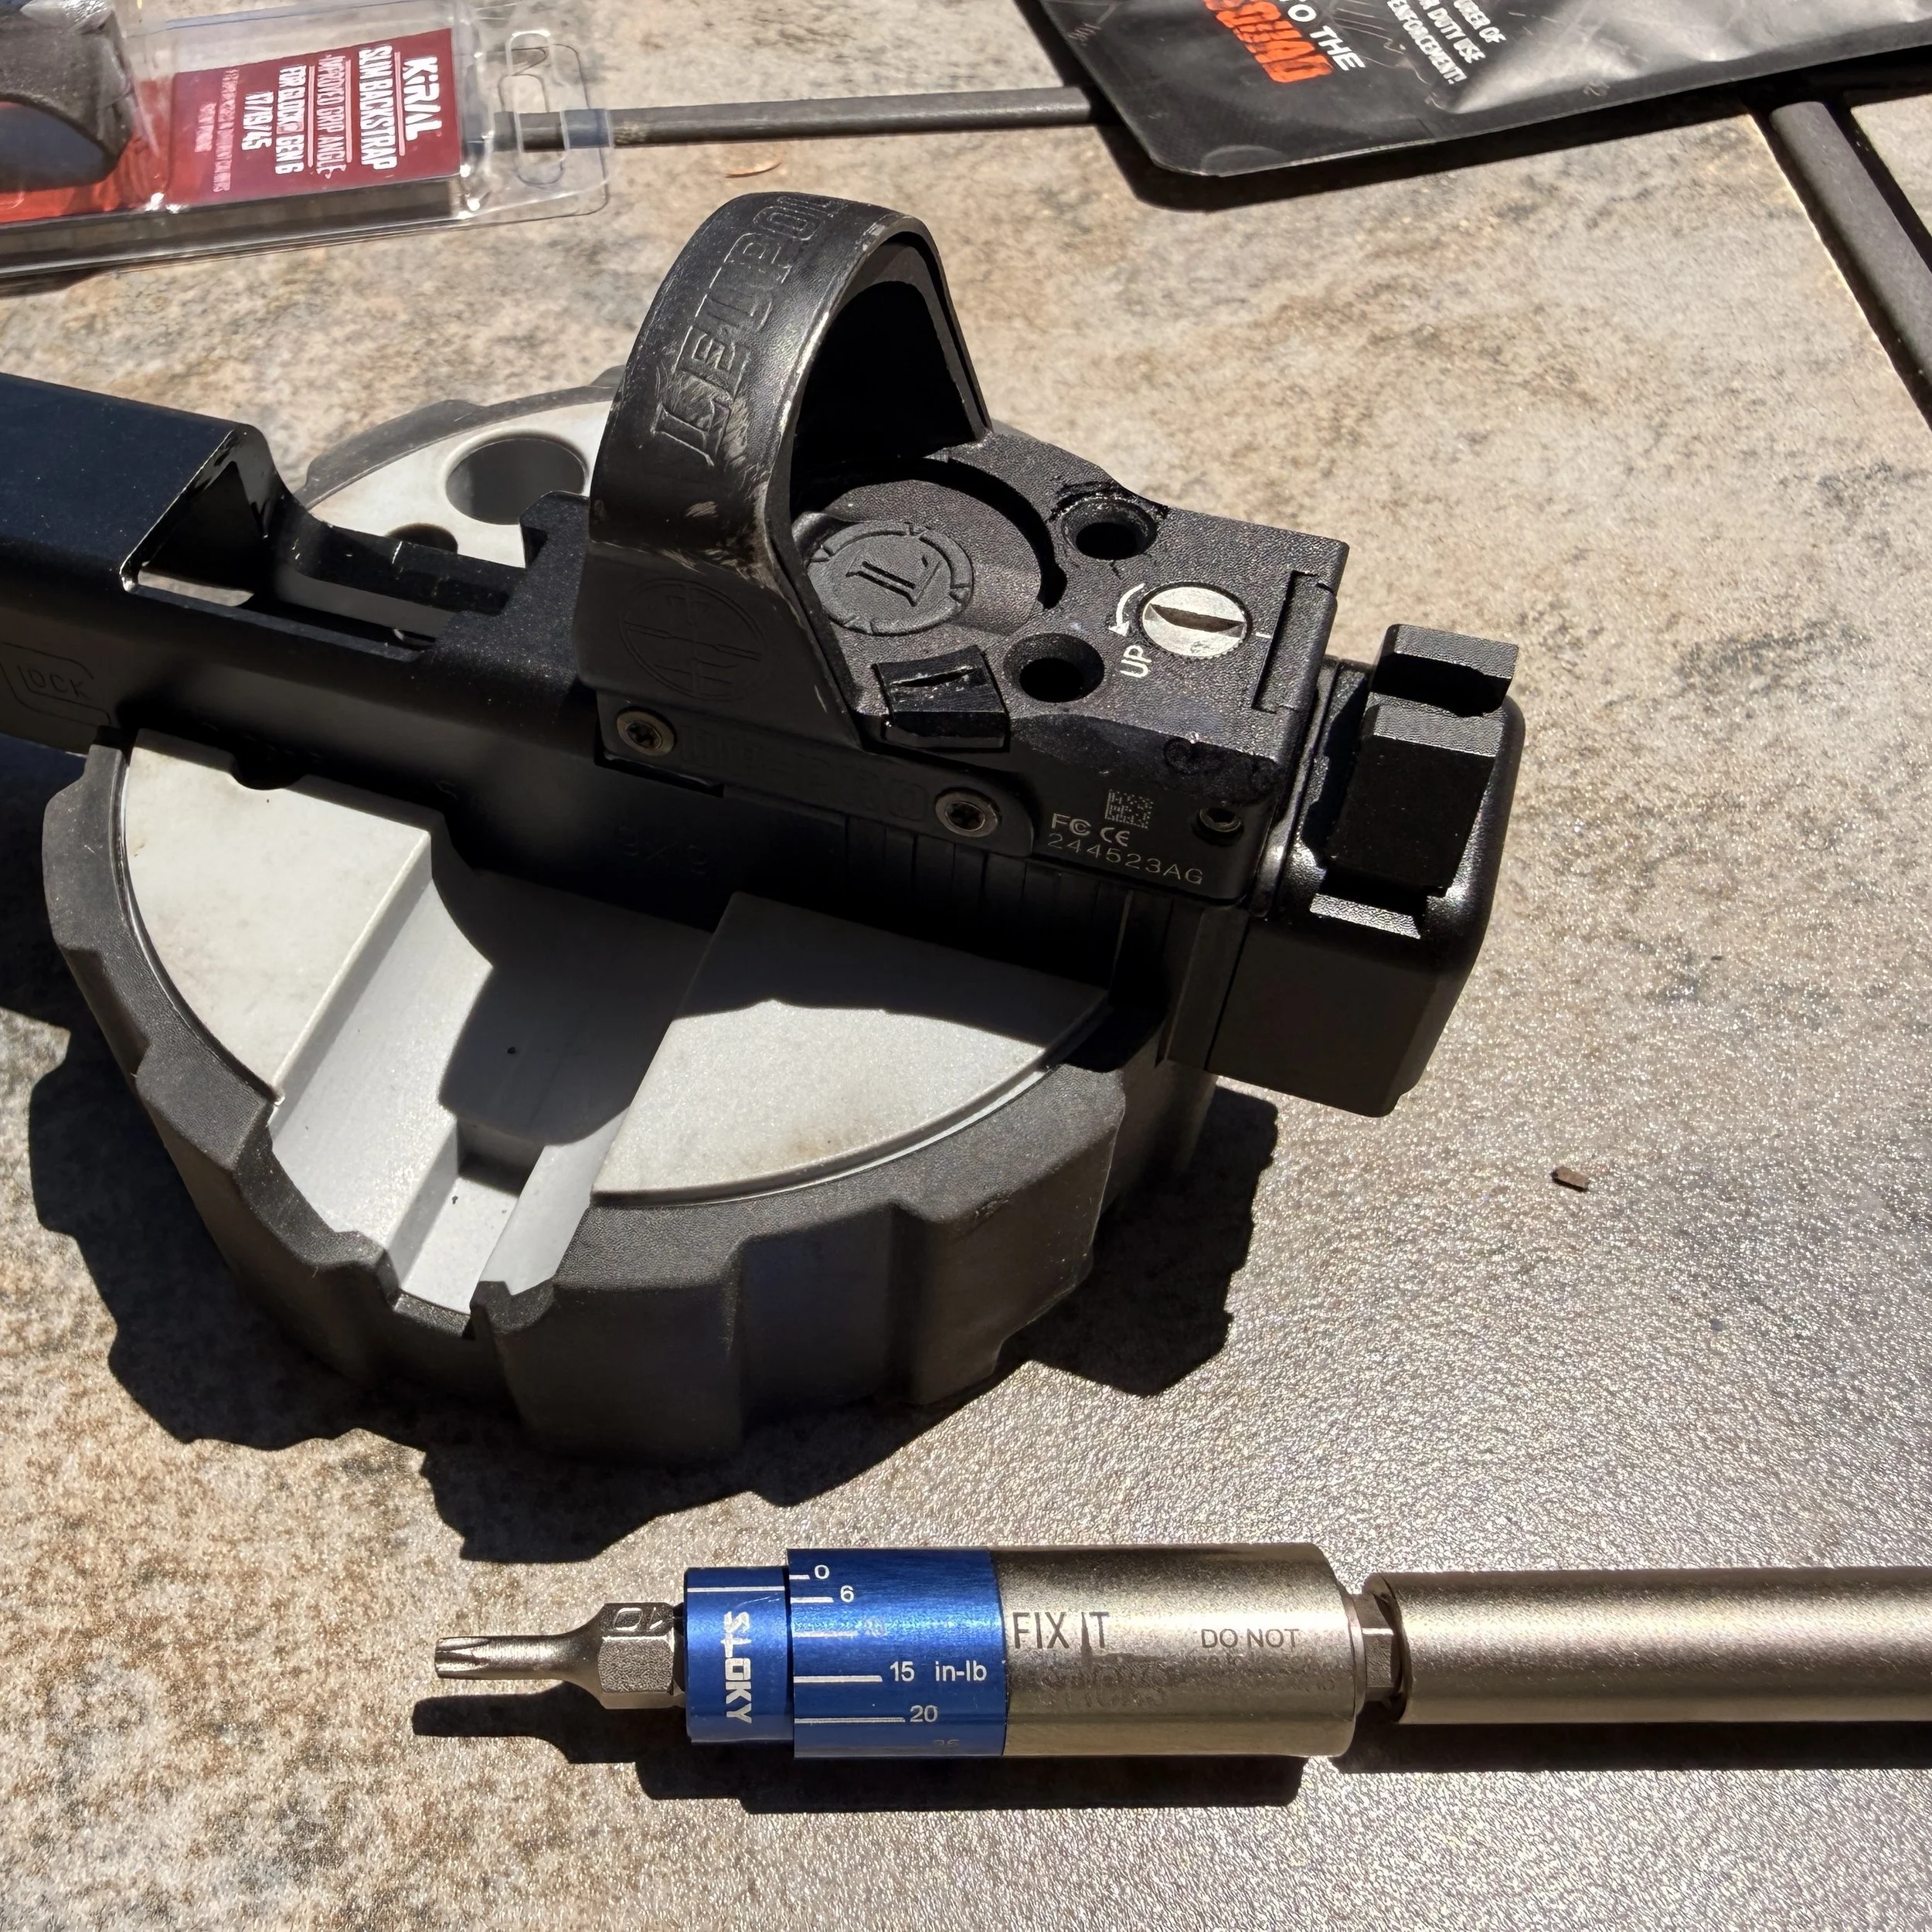
Crucial Step: Always use an accurate, calibrated inch-pound torque wrench (like a Wheeler FAT Wrench or Fix-It Sticks). More torque is not better. Optic mounting hardware is small, and over-torquing will easily strip the heads or shear the shanks right off. Most manufacturers specify a torque value between 10 to 15 inch-pounds. I typically torque to the manufacturer's maximum spec, but I never exceed it by more than 2 to 3 inch-pounds.
Step 5: The "Liquid Gasket" and Witness Marks
Once everything is torqued to spec and cured, I apply one final layer of insurance. I learned this technique from the armorers at C&H Precision, and it has proven foolproof.
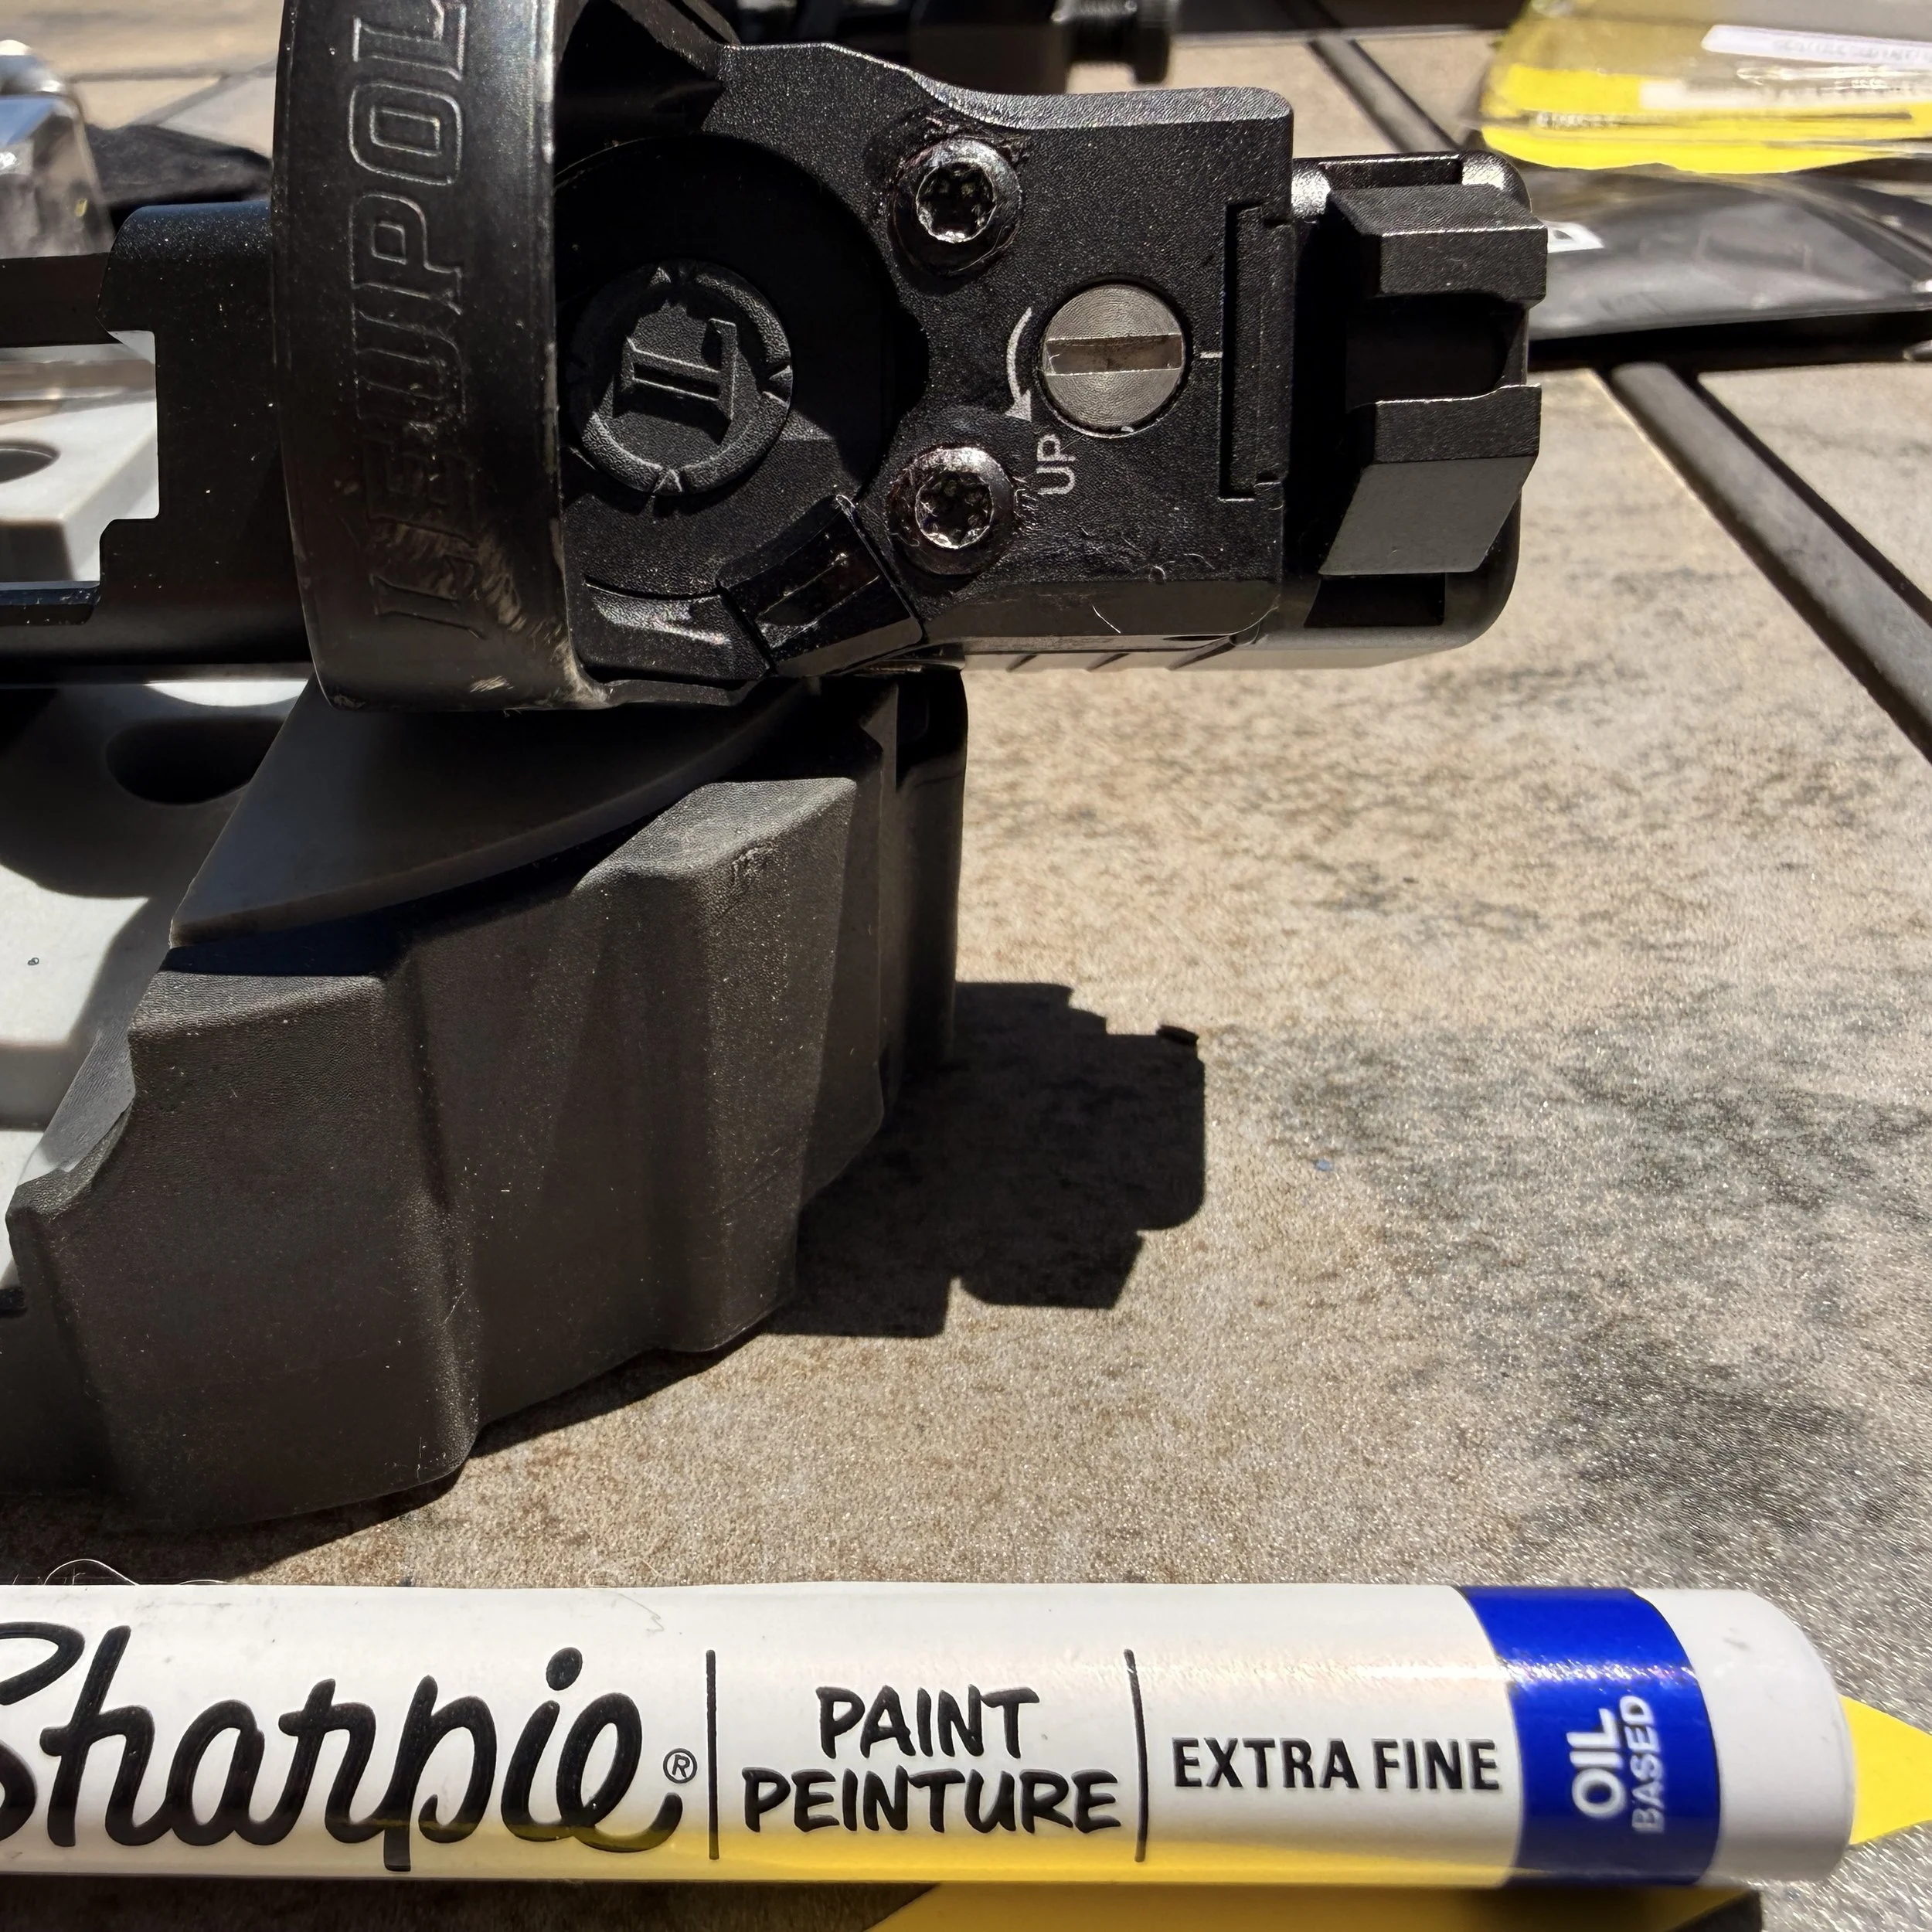
You will need two Sharpie oil-based paint pens: one in Black (Fine or Extra-Fine) and one in a high-visibility color like White or Yellow (Extra-Fine).
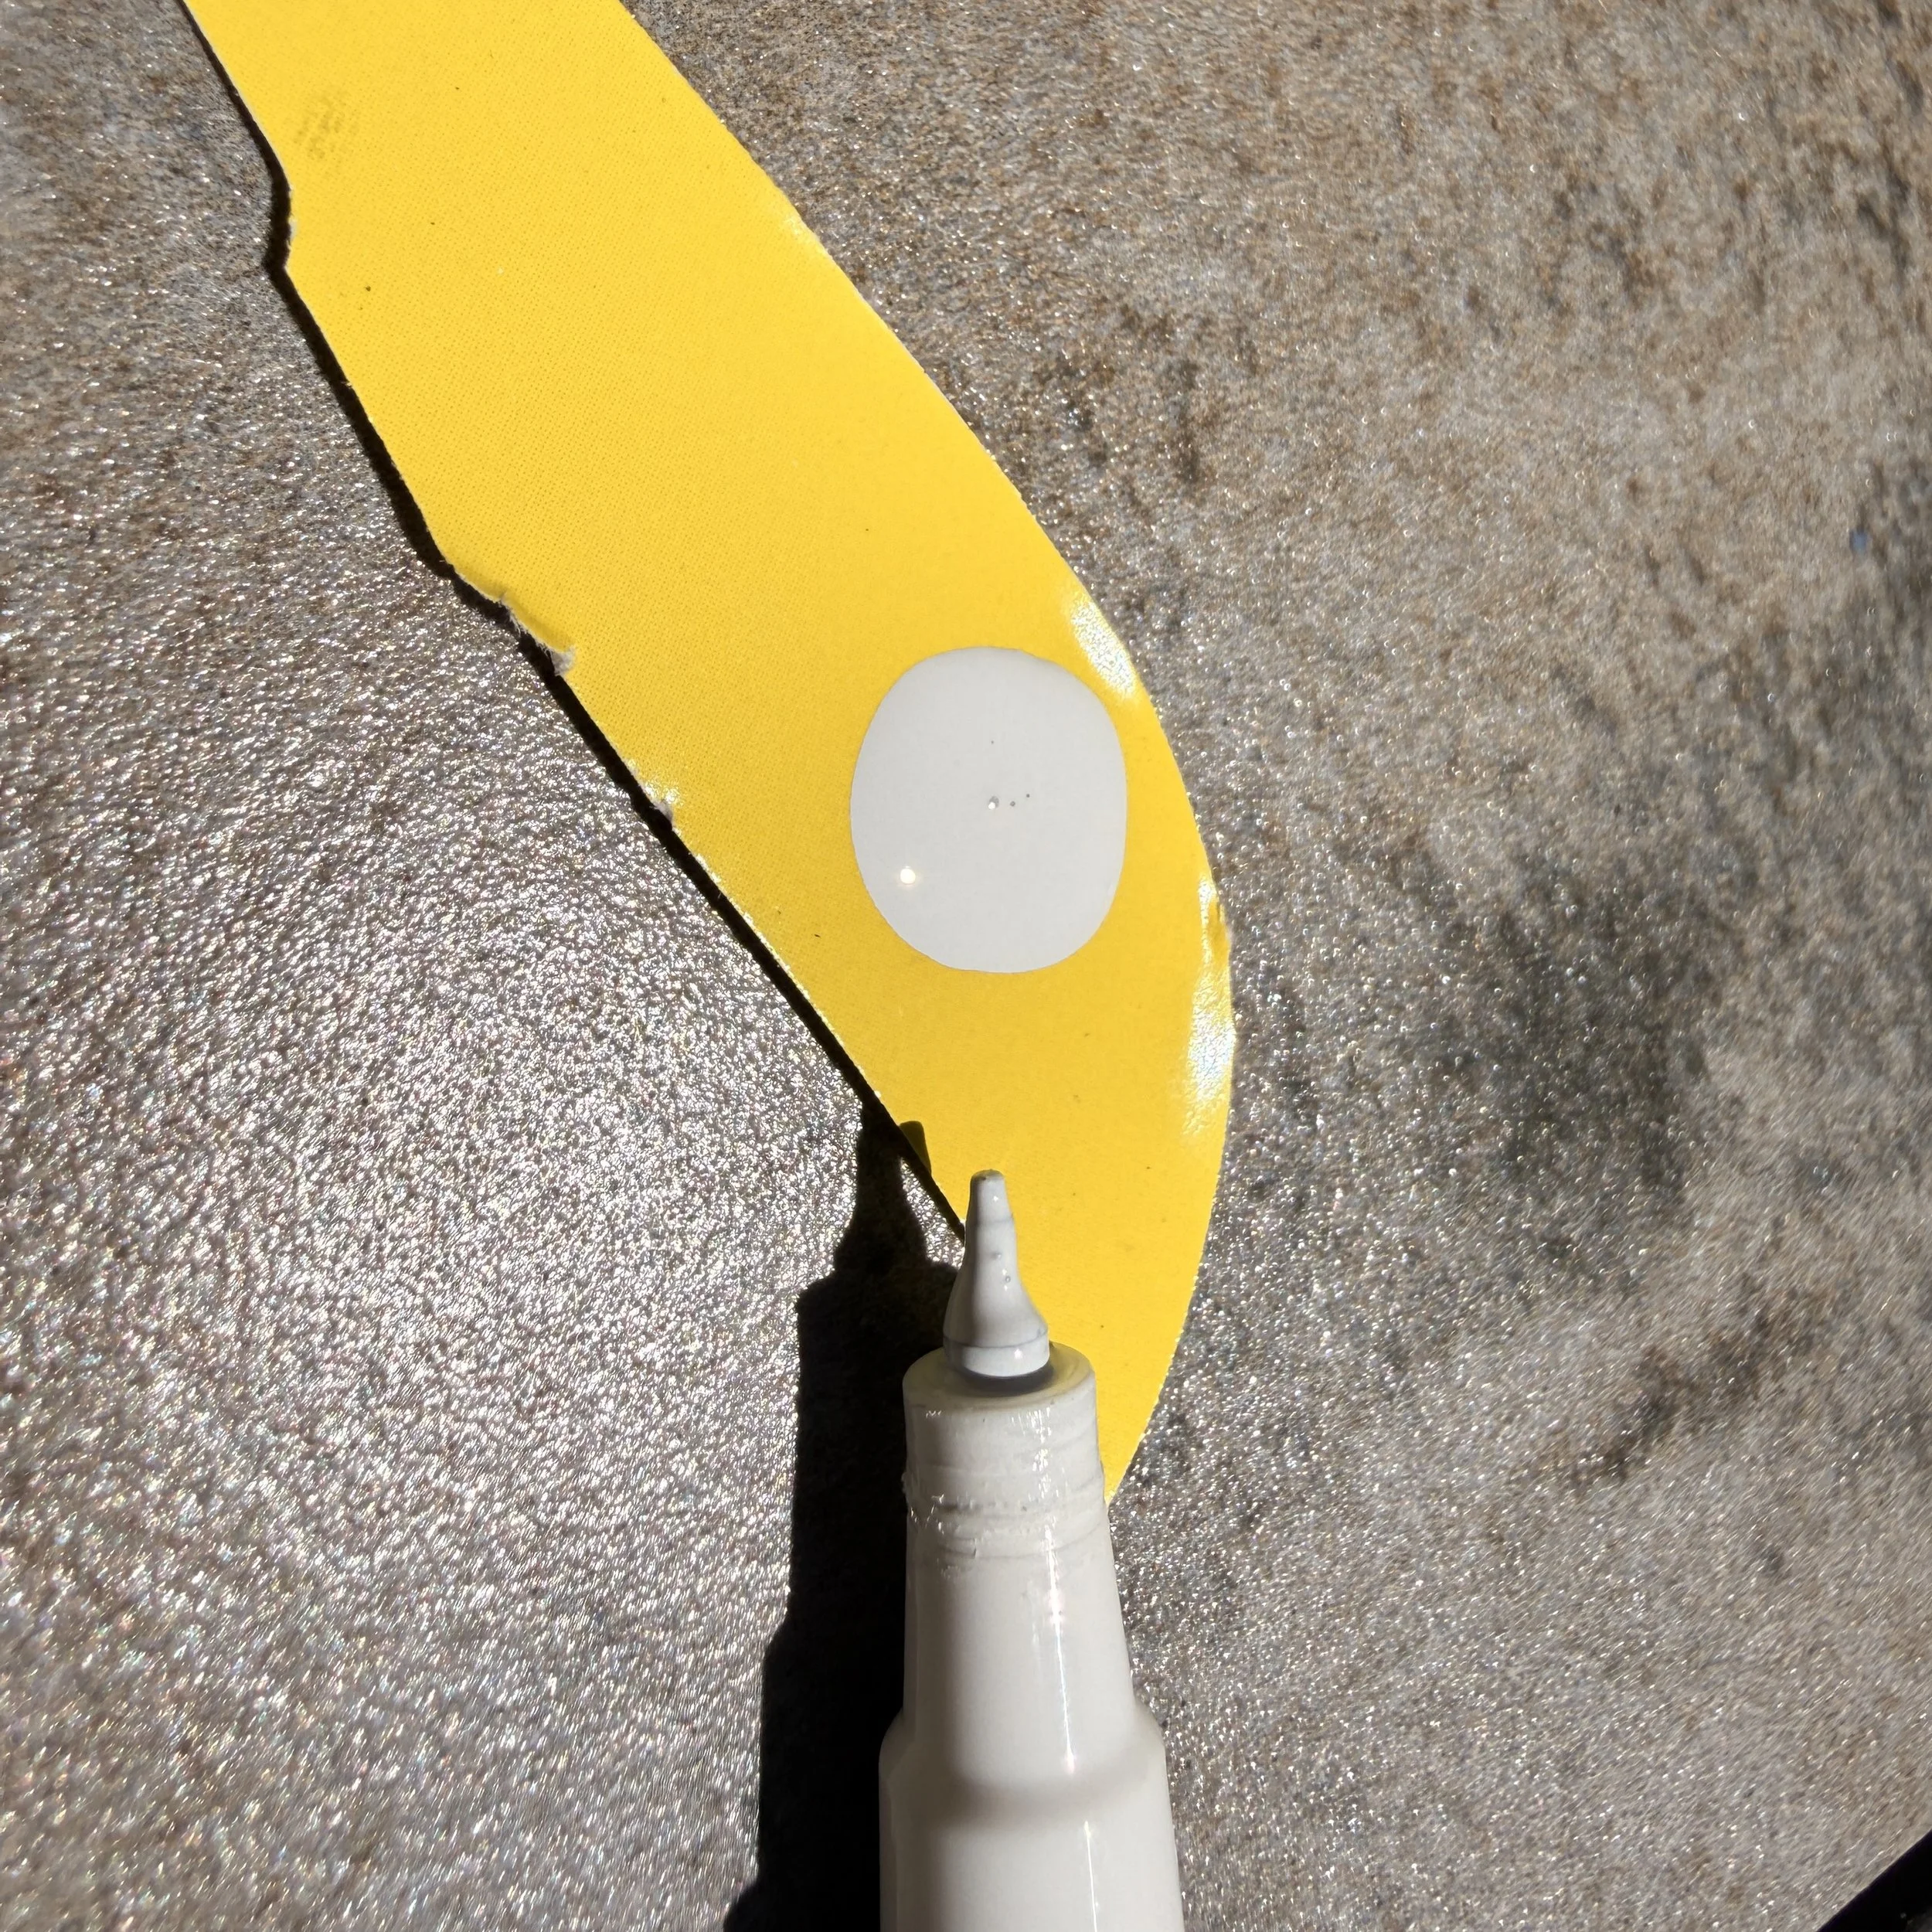
The Black Paint Seal: On a scrap piece of cardboard or a paper plate, depress the tip of the black paint pen to get the paint flowing. Do not prime the pen directly on your gun. Once the tip is wet, carefully run a small bead of black paint around the perimeter where the screw head meets the optic body. The paint will wick down into the microscopic gap, acting as a secondary adhesive and sealing out moisture. Let it dry completely.
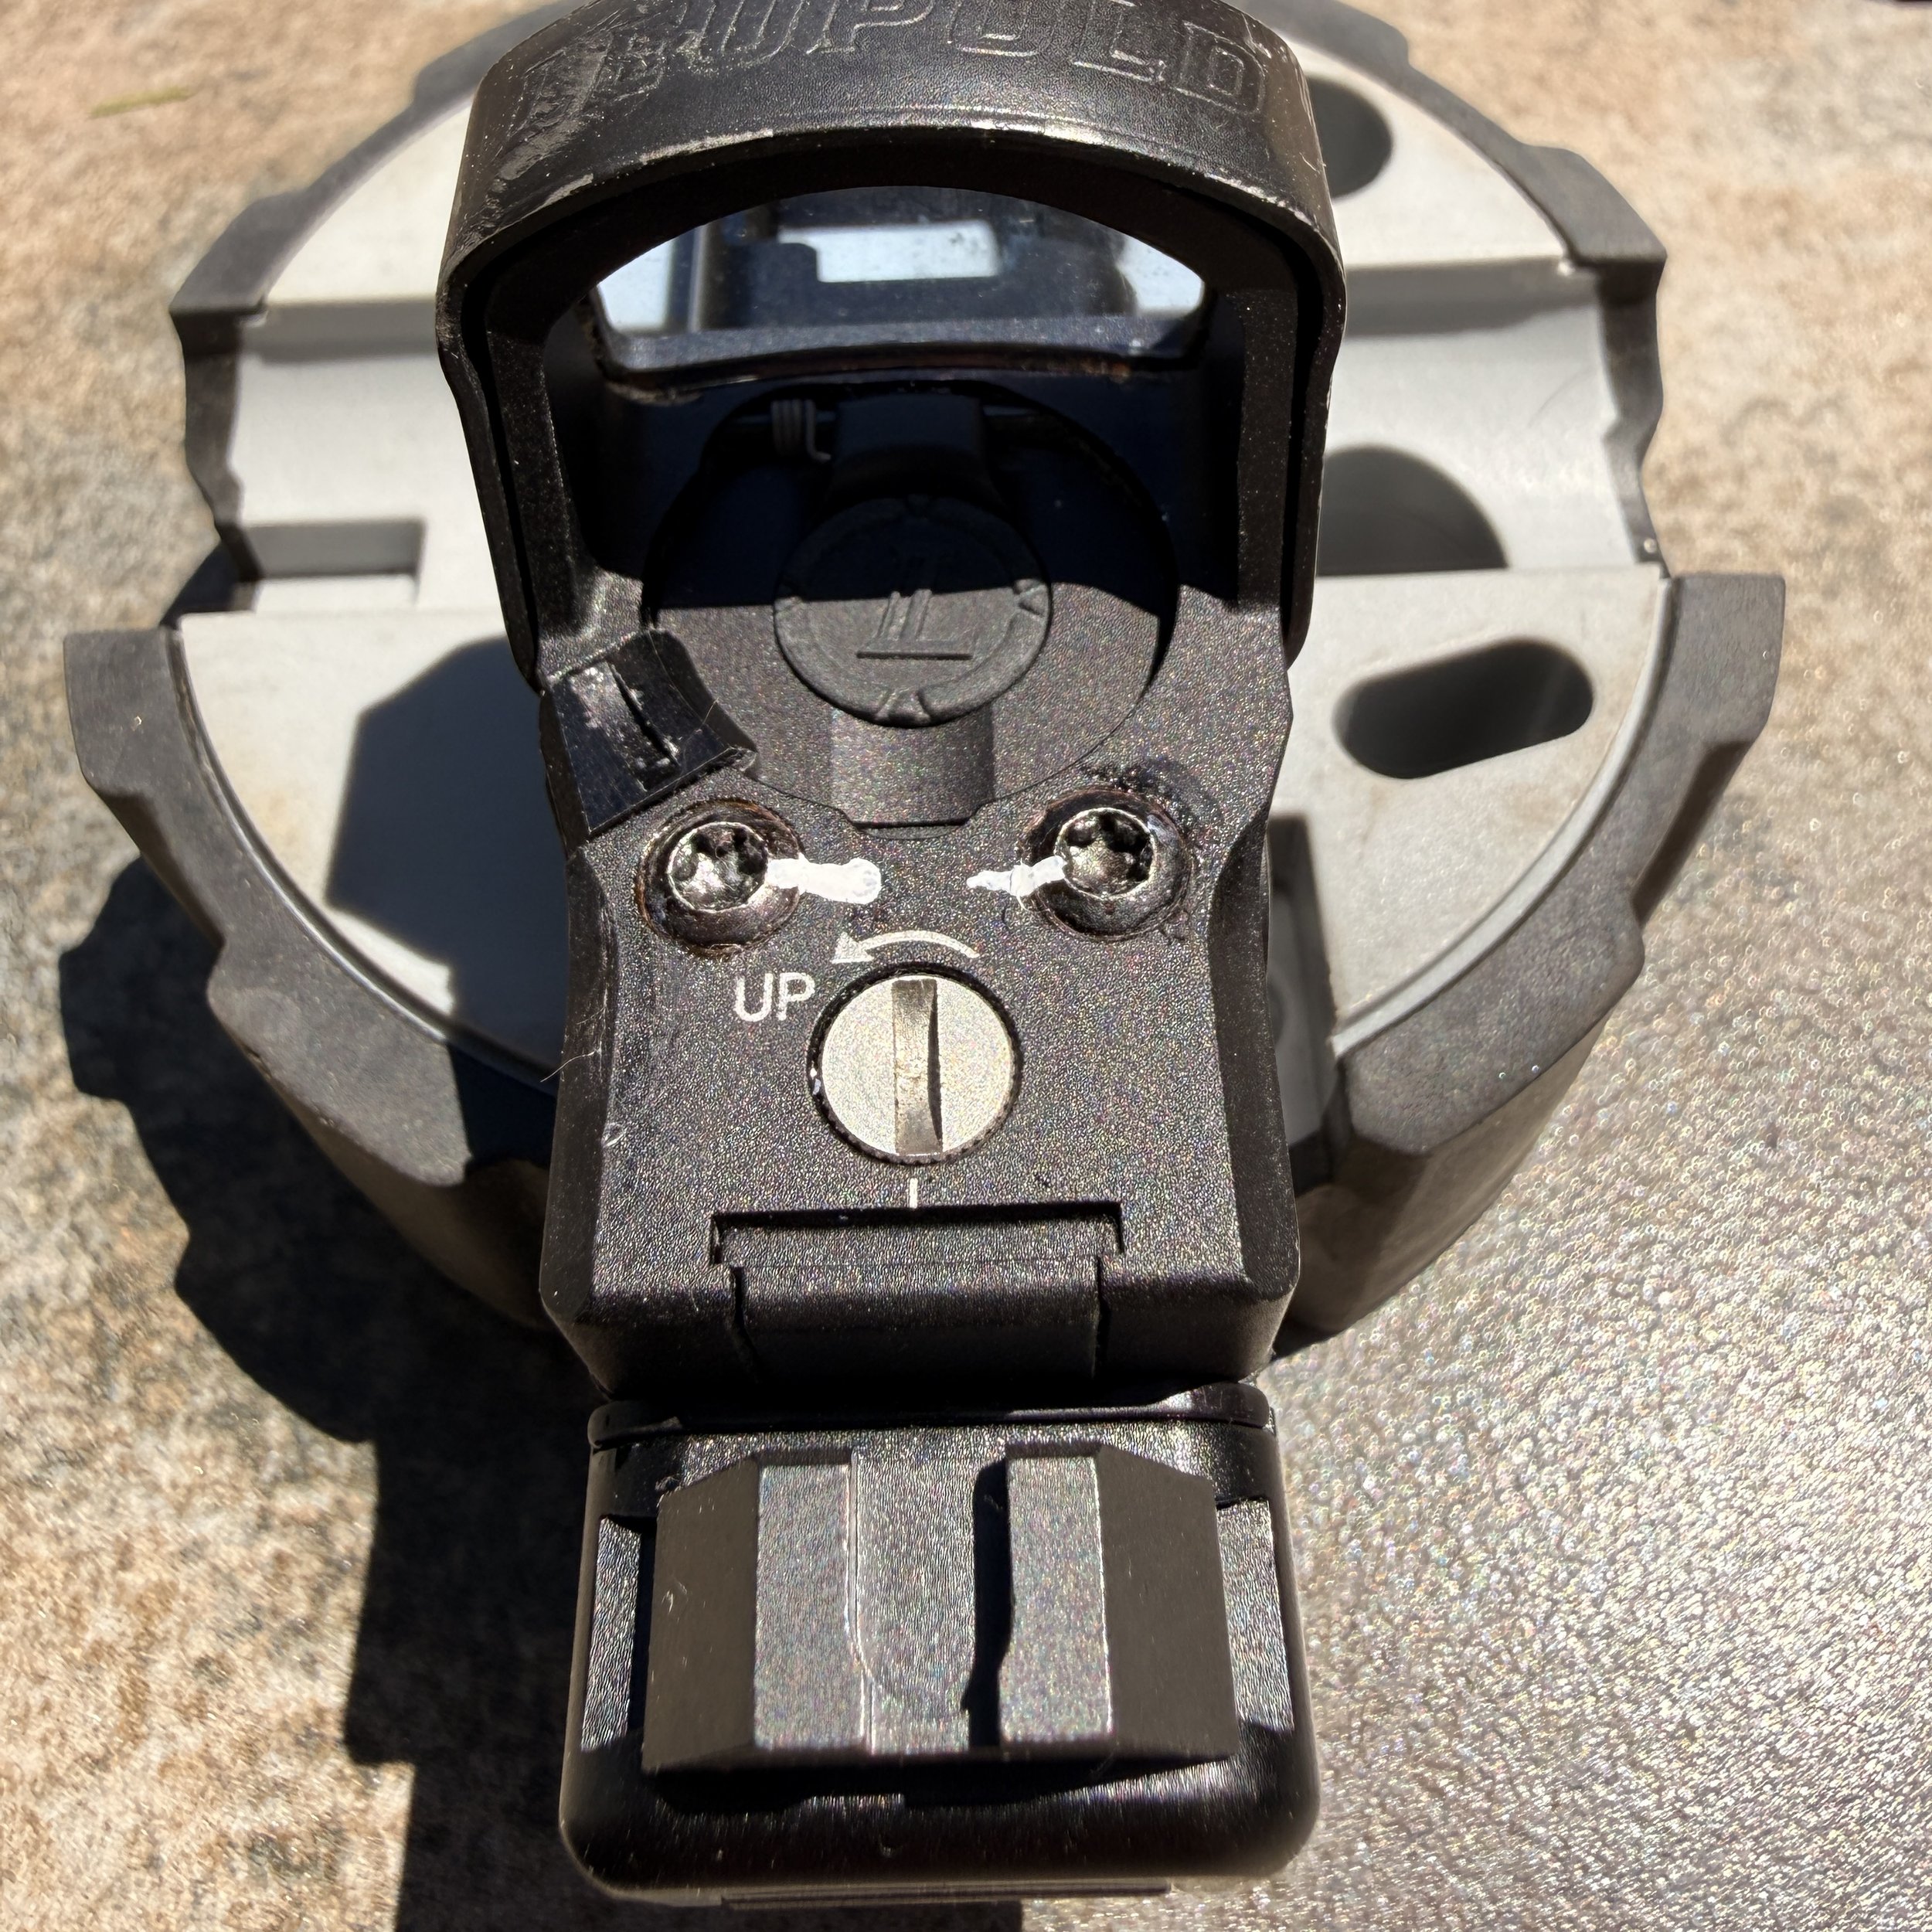
The Witness Mark: Take your white or yellow Extra-Fine paint pen, prime it on your scrap paper, and draw a straight, continuous line across the top of the screw head, extending it onto the body of the optic.
This witness mark gives you an instant visual reference during pre-shift inspections. If the line is broken or misaligned, you know immediately that a screw has begun to back out.
Conclusion
I have used this exact methodology to mount all of my personal optics over the years without a single failure. More importantly, I utilized this identical protocol to mount 40 red-dot sights onto the duty weapons currently riding in the holsters of my entire department. To date, we have experienced zero optic shifting and zero loose hardware.
Taking the extra time to clean, dry-fit, properly torque, and witness-mark your gear will pay dividends in the field, ensuring your electronic aiming system remains rock-solid when it matters most.