I designed the RTG series of targets while I was deployed in 2010. As the senior Weapons Sergeant on my ODA, I was the primary trainer. Not just for our partner force, but for my Team as well. I had brought multiple targets for use on the range during training. Bringing them all took up a lot of space. Space, when you deploy, can be a precious commodity.
The RTG targets are an extremely useful tool. They were created to make the most out of one target and improve the quality of training. A lot of money can be wasted throwing lead downrange. The key is to know how to maximize your training time and ammo. Why not use that ammo in the most effective way possible?
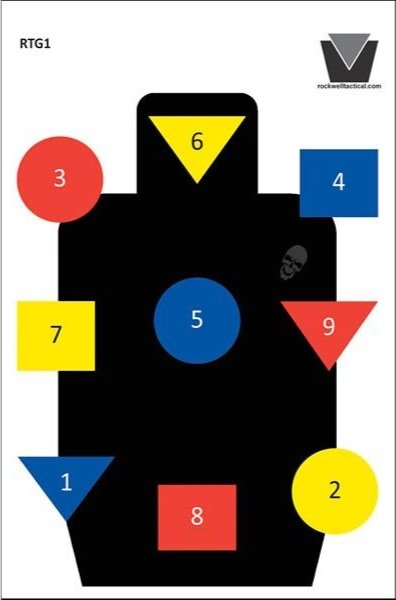
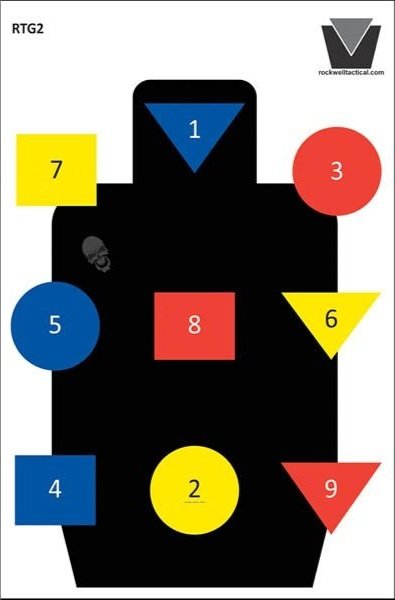
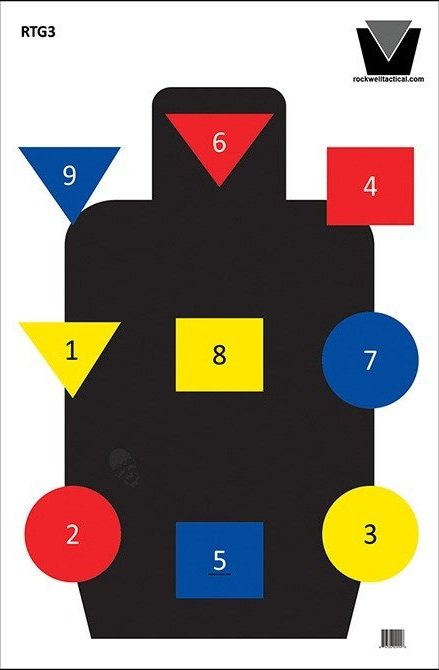
The targets have a solid black silhouette target. It is psychologically important to shoot at an image that represents a man. They have 9 discretionary sub-targets for use in command training. The 9 sub-targets are solid shapes, filled with the 3 primary colors, red, yellow, and blue. The shapes are arranged and numbered in random order with black and white numbers for further discretionary ID. This is important to the combat shooter. It gives the one being trained exterior stimulus by way of the commands. The shooter does not know what the next threat will be and has to react to what is said. Then they must ID the proper target and engage to neutralize the threat. There are also three different targets, with the sub-targets arranged differently. This is to help keep the student from memorizing them.
In addition to the random shapes, a few have been specifically placed on the silhouette. The triangle on the head represents the “Cranial Triangle” -- the area between the ears and upper lip. A shot to the Central Nerves System (CNS) in this area will kill instantly, stopping the threat from any harmful act. A shot to other parts of the head can still be a kill shot, but there may be enough brain activity for the threat to get off one more shot or trigger an explosive device. The next shape strategically placed is in the chest. It is center mass, over the heart and lungs. This, too, is a kill shot. The last strategically placed shape is set over the “pelvic girdle”, groin or femoral arteries. This area is often overlooked. Some threats may be wearing body armor, or helmets. A shot to the femoral arteries will have the threat bleed out in seconds.
Those specifically placed shapes are not necessarily in the exact anatomically correct location. They are rather close, again, by design. One of the common things people do when identifying a threat (see the “Dots” and “Shot Placement in Combat Shooting” articles) is they shoot at what they identify. Meaning, they see a gun, they tend to shoot the gun, not eliminate the threat. The placement of these three specific shapes is designed for the student to make a conscious decision and drive the gun to get hits on them, not just react.
I am so pleased with the feedback I’ve received over the past decade plus. The RTG targets have found their way into many PDs, Units, and personal ranges in the backyards of this country. One is only limited by their imagination on what they can do with these targets. As I said, different types of targets can greatly aid your training. There is a certain satisfaction to shooting a glass bottle, or milk jug filled with water, and watching it explode. But in this day and age of high ammo prices, you need to get the most for your buck. The RTG targets are just that: an effective training aid to help you along your path to combat marksmanship.
— Jared
Click the Image of any target to purchase
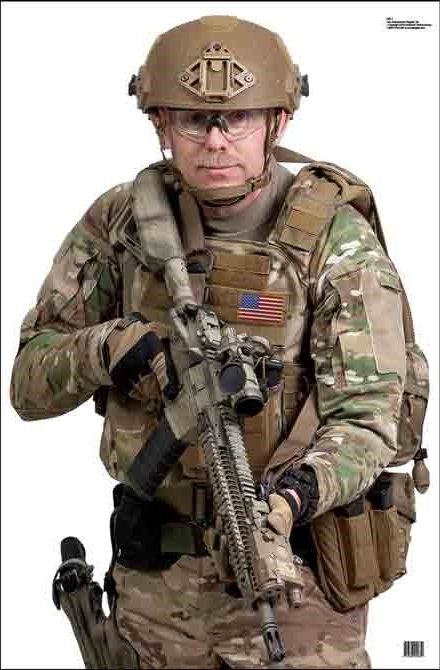
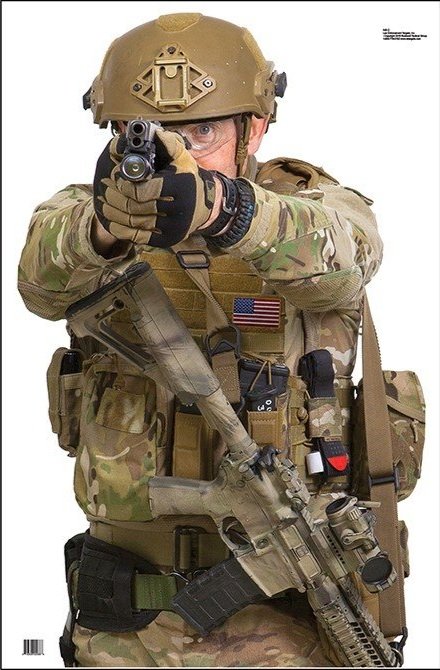
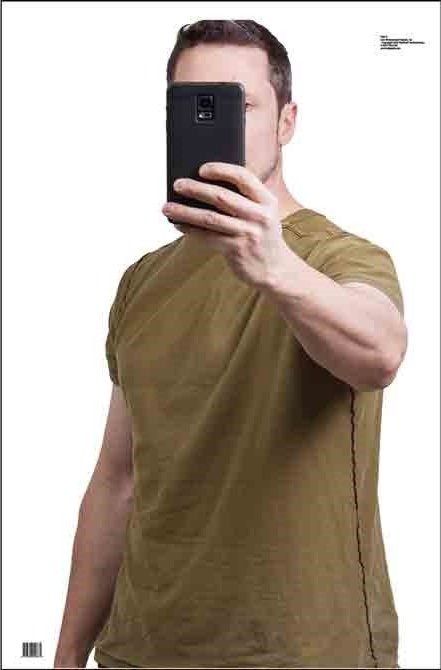
While running Special Forces teams through shoot houses at SFAUC, I got tired of the same old no shoot target. The options seemed like either a guy with a beer can in his hand or a woman with a burka. I designed these No Shoot Targets to force the student to see and access what was in front of them. The first two are representing another team mate who has entered the room from a different entryway. Something I've experienced for real. The last is typical of our day and age: someone filming with their phone.

